A few years back I was in charge of decorations for my mother-in-law’s 60th Birthday party. This was the first time I was planning a nautical themed party and I was beyond thrilled just thinking of all the possibilities. Because she loved lighthouses, I knew I wanted to have a lighthouse in the center of each table.
My searches at the party stores and the internet were exhaustive. All the lighthouse centerpieces I found were either extremely expensive or extremely cheap. My budget was set at $4 per centerpiece and they had to be good quality. That’s when I realized I would have to make the centerpieces myself.
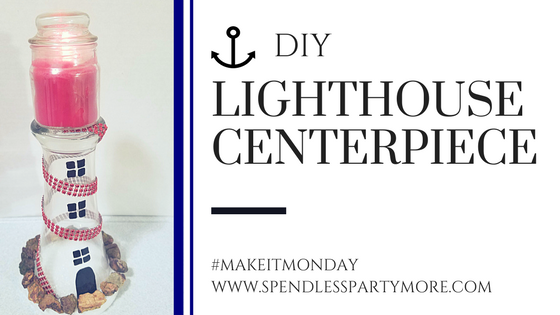
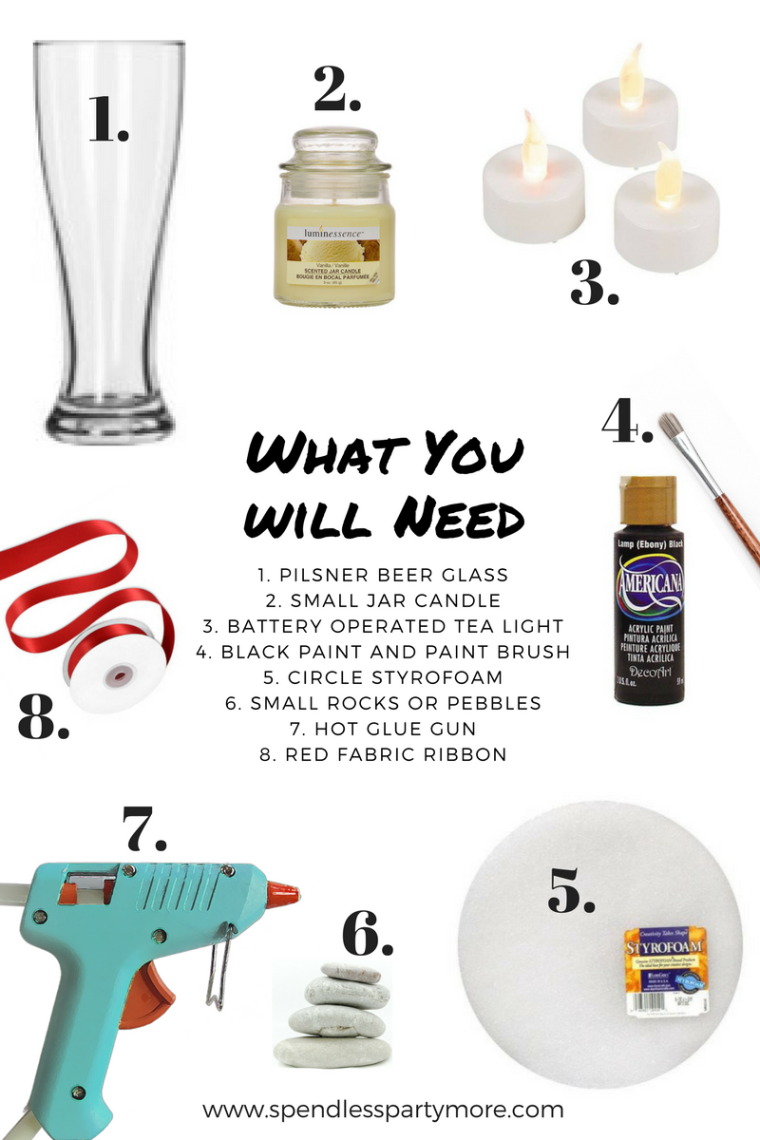
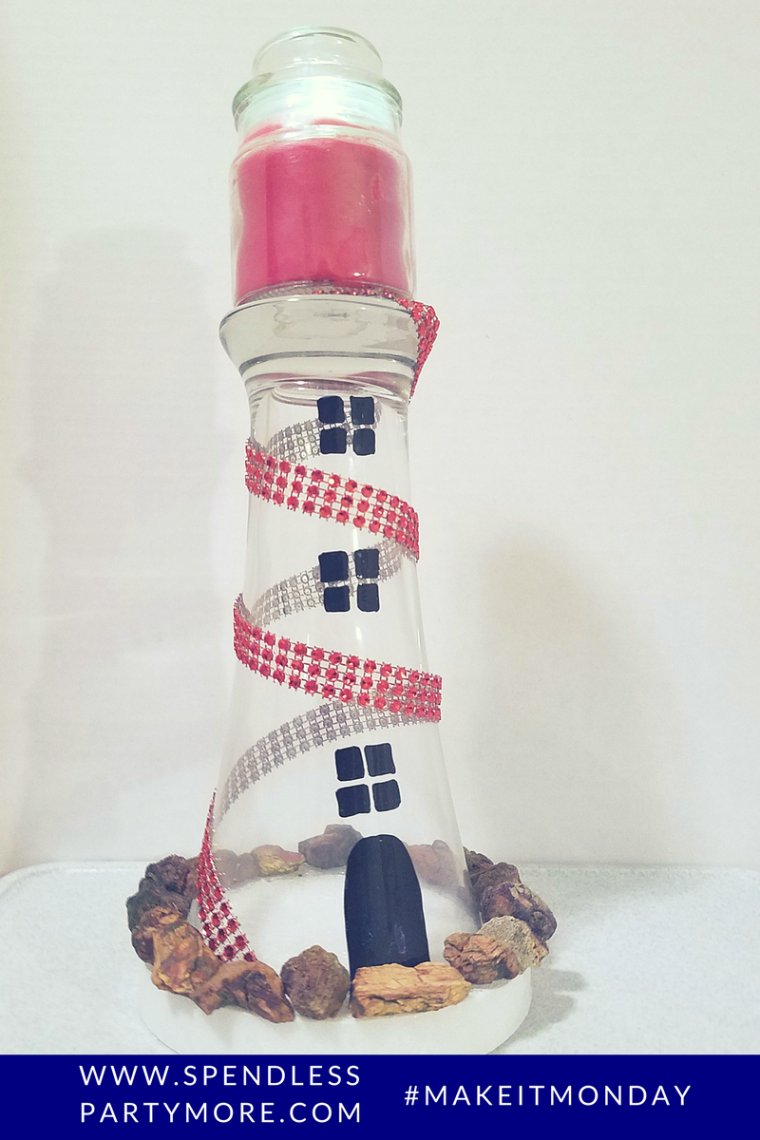
I began to think of the basic shapes of a lighthouse and the different type of objects I could use to mimic those shapes. That’s when it hit me to use a Pilsner glass … it is the perfect shape! Plus, it could be taken a part after the party to be reused.
This is an original design that I would like to share with you. I was able to find all the items at my local Dollar Tree, costing exactly $3.25 for each centerpiece.
Step 1: Clean and dry the Pilsner glass to remove any oils.
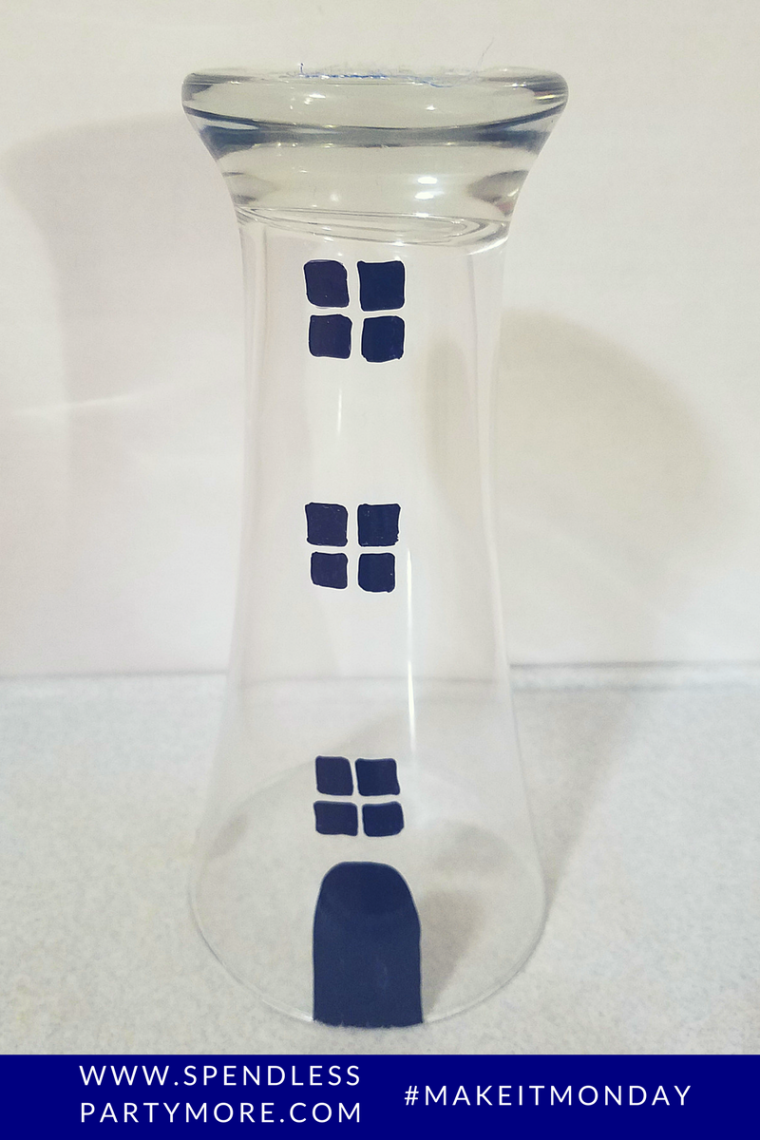
Step 2: Turn the Pilsner glass upside down on your work surface so that the base of the glass is pointed towards the ceiling. Using the black paint and small paint brush, paint three square windows and a door on one side of the Pilsner glass. Let the paint dry.
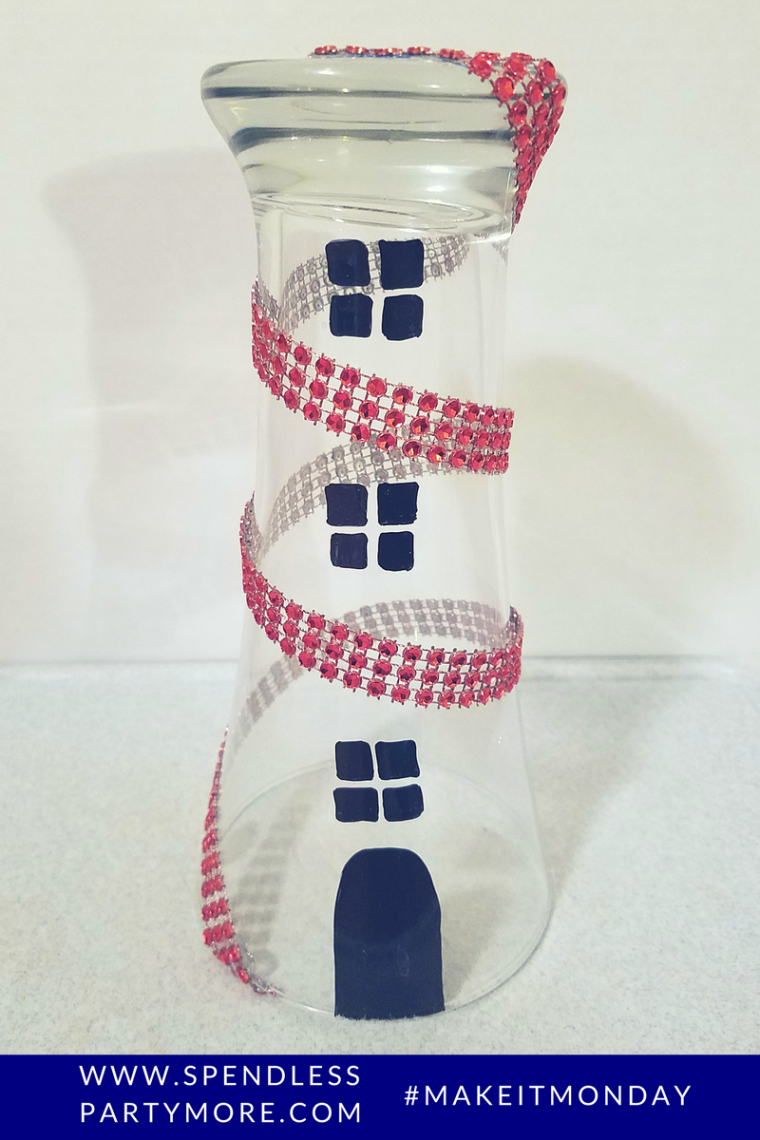
Step 3: Add a dot of hot glue on one end of the ribbon and secure it to the top of the Pilsner glass. Twist the ribbon around the glass until you get to the base, making sure not to cross over the windows and doors. Secure the end of the ribbon to the bottom of the glass with another dot of hot glue and trim the end.
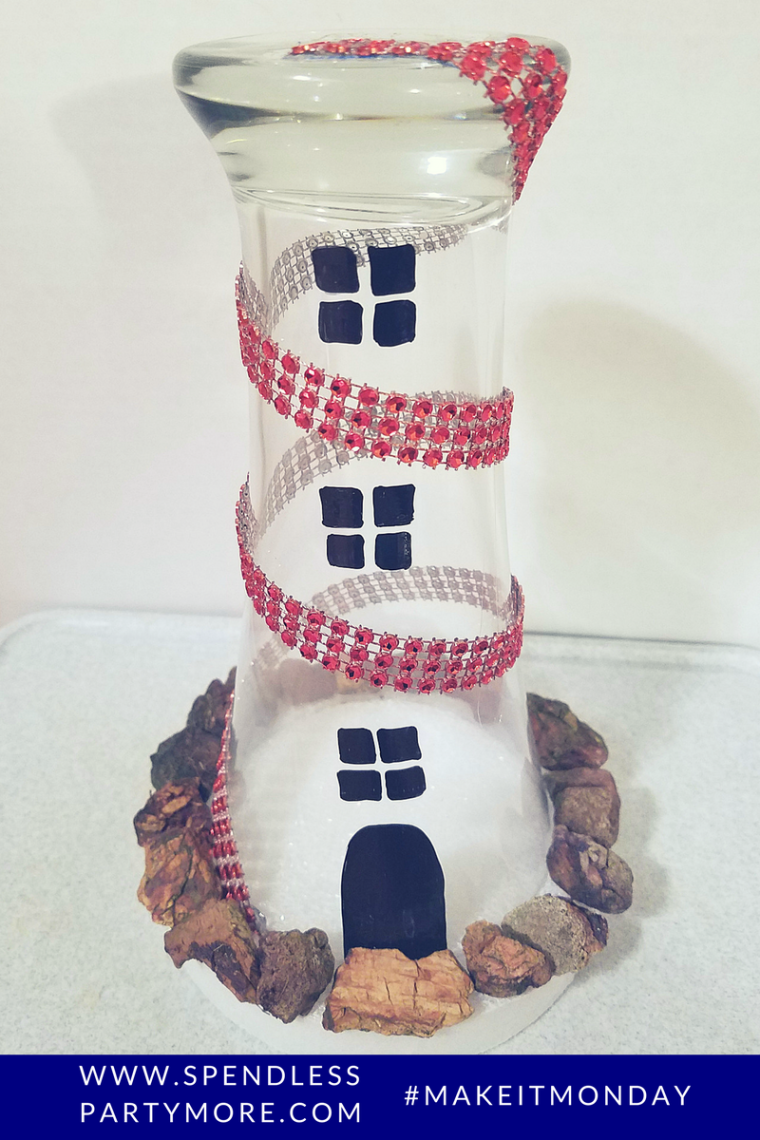
Step 4: Center the Pilsner glass, rim side down, onto the top of the circle Styrofoam disc and gently press the glass into the Styrofoam. Don’t press too hard, just enough for the glass to be stuck to the Styrofoam without going all the way through.
Step 5: Use the hot glue gun to secure small rocks to the Styrofoam ledge, creating the base.
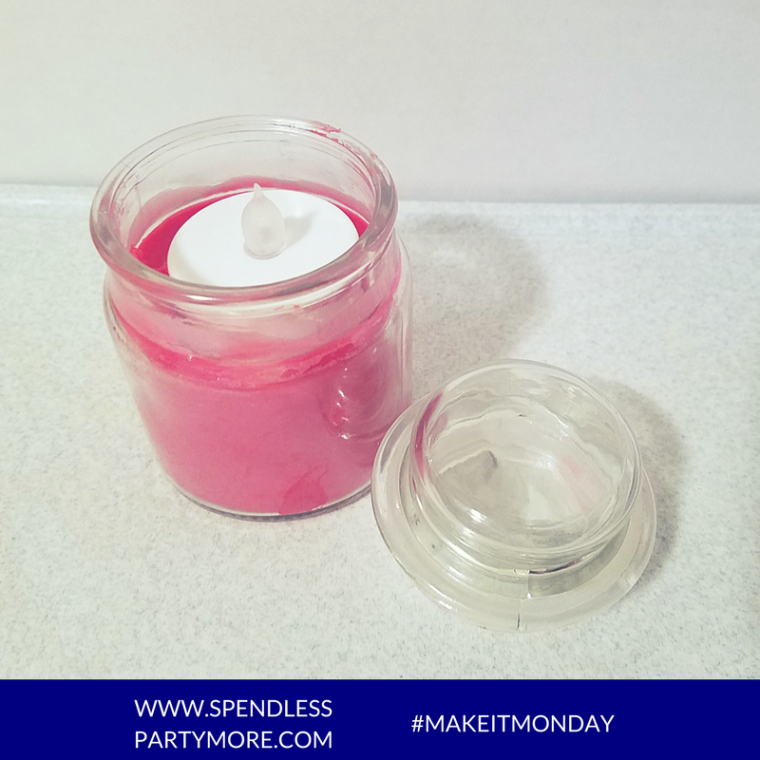
Step 6: Use warm soapy water to remove the label on the small candle jar and dry.
Step 7: Take the lid off of the small jar candle. Use a spoon to carve out a circular hole in the wax. The hole should have a diameter and depth that can fit a battery operated tea light.
Step 8: Place the tealight into the hole that you just carved out of the candle. Adjust the dept as needed to make sure the lid to the jar can be closed.
Step 9: Add hot glue to the top of the Pilsner glass and place the base of the small candle jar on top of the hot glue to secure.
Congratulations … you are finished! Repeat these steps according to how many tables you will have at your event.
Choose different colored ribbons or candles to personalize your centerpiece. You could even paint the Styrofoam. Get creative!
Make sure to turn the tealights on when you start the party so that they will glow all night long!
Happy savings … and remember to have fun!