DIY: Baby Shower Gift Bouquet

My mama and me are going to a baby shower in a few weeks.  As we were choosing items from the baby registry, we saw a set of adorable baby socks and our creative minds started churning … we decided to make a baby sock bouquet!

This DIY baby sock bouquet is simple to make and it can be used as a gift or as a centerpiece for a baby shower party.

All the supplies used were purchased from our local dollar store, with the exception of the socks, for a total cost of $12.50. (We bought name-brand socks, but you could use baby socks from your local dollar store and make the gift for as little as $4.50)

Baby shower gift bouquet materials

Quick tip:

  • As you roll the socks to create the rose, it is best to make sure the heel part of the sock is at the top part of the rose. Doing so will create dimension, mimicking the center of a real rose.

Baby shower gift bouquet final

Happy savings … and remember to have fun!

Signature


6 Supplies You Should Have in Your DIY Party Planning Kit

To start, or continue, your journey in becoming a DIY party planner, I encourage you to put together your own go-to party planning kit.

Planning an event will be stress-free if you plan appropriately and save time by having the right supplies handy when you need them.

I have found these six supplies useful in every party planning situation – especially for last minute projects.

Party Planning Supplies Infograhic (2)

Here are some ways I personally use these must have party planning supplies:

  1. Colored Paper: I design and print my own tent cards for guest seating or to label buffet-style food.
  2.  Scissors: My favorite brand of scissors to use are CUTCO. I use them for everything, even to prep food.
  3. String / Ribbon: I have ribbon in various colors and sizes. On holidays I will make large fabric bows and tie them on my kitchen cabinet doors.
  4. Colored Markers: When I am short on time or run out of printer ink to make my banners or tent cards, I always have my supply of markers as back up.
  5. Tape / Glue: The three main adhesive products I use regularly are clear tape, E6000 glue, and a hot glue gun.
  6. Thumb Tacks: I use tacks to hang my banners by tying the string end of each banner to each tack and pushing the tacks into the wall at the distance needed – easy peasy!

What other supplies do you have in your party planning kit?


Happy savings … and remember to have fun!

Signature

DIY: Lighthouse Centerpiece

A few years back I was in charge of decorations for my mother-in-law’s 60th Birthday party. This was the first time I was planning a nautical themed party and I was beyond thrilled just thinking of all the possibilities. Because she loved lighthouses, I knew I wanted to have a lighthouse in the center of each table.

My searches at the party stores and the internet were exhaustive. All the lighthouse centerpieces I found were either extremely expensive or extremely cheap. My budget was set at $4 per centerpiece and they had to be good quality. That’s when I realized I would have to make the centerpieces myself.

I began to think of the basic shapes of a lighthouse and the different type of objects I could use to mimic those shapes.  That’s when it hit me to use a Pilsner glass … it is the perfect shape! Plus, it could be taken a part after the party to be reused.

This is an original design that I would like to share with you. I was able to find all the items at my local Dollar Tree, costing exactly $3.25 for each centerpiece.

Lighthouse Centerpiece materials

Step 1:  Clean and dry the Pilsner glass to remove any oils.

Step 2:  Turn the Pilsner glass upside down on your work surface so that the base of the glass is pointed towards the ceiling. Using the black paint and small paint brush, paint three square windows and a door on one side of the Pilsner glass. Let the paint dry.

Pilsner glass - lighthouse centerpiece

Step 3:  Add a dot of hot glue on one end of the ribbon and secure it to the top of the Pilsner glass. Twist the ribbon around the glass until you get to the base, making sure not to cross over the windows and doors. Secure the end of the ribbon to the bottom of the glass with another dot of hot glue and trim the end.

Ribbon - Lighthouse centerpiece

Step 4:  Center the Pilsner glass, rim side down, onto the top of the circle Styrofoam disc and gently press the glass into the Styrofoam. Don’t press too hard, just enough for the glass to be stuck to the Styrofoam without going all the way through.

Step 5:  Use the hot glue gun to secure small rocks to the Styrofoam ledge, creating the base.

base - lighthouse centerpiece

Step 6:  Use warm soapy water to remove the label on the small candle jar and dry.

Step 7:  Take the lid off of the small jar candle. Use a spoon to carve out a circular hole in the wax.  The hole should have a diameter and depth that can fit a battery operated tea light.

Step 8:  Place the tealight into the hole that you just carved out of the candle. Adjust the dept as needed to make sure the lid to the jar can be closed.

jar candle - lighthouse centerpiece


Step 9:  Add hot glue to the top of the Pilsner glass and place the base of the small candle jar on top of the hot glue to secure.

Congratulations … you are finished! Repeat these steps according to how many tables you will have at your event.

final - Lighthouse centerpiece

Choose different colored ribbons or candles to personalize your centerpiece. You could even paint the Styrofoam.  Get creative!

Make sure to turn the tealights on when you start the party so that they will glow all night long!

Happy savings … and remember to have fun!

Signature

5 Ways to Host a Party in a Small Space

When I have a gathering with more than four people in my small two bedroom, one bath townhouse, I am challenged with thinking of creative ways to make it comfortable for all of my guests.

In a small event space you need to pay more attention to seating, serving, and socializing. (Oh, gotta love the accidental alliteration!)

Here are five tips to help you host a successful event in a small space:

1. Make use of the walls and ceilings

When you can’t expand your party horizontally, the logical direction is to go up. No, this does not mean you need superpowers to dance on the ceiling. (Although, that would be awesome!) What you can do is pretty up the walls and hang your decorations from the ceiling. This will save space at the tables and help keep your place clutter free.

2. Use pillows for extra seating

Pillows are good for laying your head on or squeezing tight for comfort … but that’s not all … Pillows make excellent extra seating on the floor! This is a great option especially when your party includes children. Double the use by choosing bright, festive colored pillows and include them as part of your decorations.

3. Opt for appetizers 

Save space by limiting how much food you cook and serve. You can do this by selecting a menu of small appetizers instead of a sit down meal. Or, if you prefer to make a full meal, think about serving it buffet style.

Make sure the food is not too messy so your guests can eat the food comfortably anywhere in the house. Mobile-style foods are great because you can spread the food through out the rooms so your guests won’t crowd in one area.

4. Rearrange your furniture

Determine which rooms you will allow your guests in and take a look at the space. Will the current set up work for multiple people? Maybe your kitchen table could be pushed up against a wall and used to display the appetizers or buffet. See if you can move your couch in a different position to allow for extra seats to be added in the living room. Move a bookshelf or TV stand to your bedroom temporarily to allow more space for your guests to move around.

My favorite way to make extra space in my home is to set up a larger folding table with a table cloth over top of the low coffee table in my living room. This provides extra table height and length for playing board games or serving food.

5. Offer more than food

When you fit a lot of people into a tiny space, your guests may start to feel uncomfortable. Lighten the mood by offering some entertainment. If it is a nice day out, ask if anyone wants to go for a walk or sit outside. If you have enough room, you can take it up a notch and start dancing or playing games. At the very least, play music in the background.

Remember, it is possible to have a party in any size space, and I mean it when I say ANY size! In college we had some pretty amazing parties with 10 people in a 12′ x 19′ dorm room, and all we had to do was stack the beds on top of one another … poof … there was a dance floor.

Have you ever been challenged with hosting a party in a small space? I would love to hear how it went. Please share your suggestions!

Happy savings … and remember to have fun!

Signature

DIY: Drink Coaster Party Favors

Want to hand out a party favor at your event but you have a lot of guests and need to make sure you don’t go over budget? Here is a perfect solution that can be tailored to any party theme … a drink coaster set! And, you will only spend $2 (or less) per guest.

I will take you step-by-step to create a drink coaster set for each of your guests. If you have more than 100 guests, it would be fun to recruit some helpers and set up an assembly line. Maybe put on some music and turn it into a crafting party – fun, fun!


What you'll need list.png

Step 1:  Cut out two 4×4-inch felt squares and set them aside.

Step 2:  Cut out two 4×4-inch photo images and set them aside.

Be creative when selecting your photo images … you can use old maps, scrapbook paper, magazine images, or even print images on regular copy paper.

Step 3:  Dip the foam paint brush into the Mod Podge (or watered-down Elmer’s glue) and brush a thin layer of glue on the backside of the photo image.

Step 4:  Place the photo image, glue-side down, onto the top surface of the ceramic tile. Make sure the photo image is centered on the tile.

Step 5:  Use the foam paint brush to smooth the top of the photo image and remove any air bubbles. Set the tile aside to dry.

Step 6:   After both tiles are dry, use a clean foam paint brush to apply a thin coat of the Polycrylic finish onto the surface of the tile. Set the tile aside to dry, for at least 24 hours.

Step 7:  Once the clear finish is dry, use the E6000 glue to apply the felt square to the bottom of the tile, and set aside to dry.

#MakeitMonday - coaster party favors

Step 8:  Bundle two of the finished tile coasters together with twine (or ribbon).

Step 9:  Finish the party favor by handwriting a simple thank you message to a string hanging tag and tie it to the twine.

#MakeitMonday - coaster party favors 2

You’re finished!

Now, you just have to repeat the steps as many times as there are guests.  I am certain your family and friends will appreciate the time, effort, and creativity that you put into their gift!

Remember to include your own personality when recreating this project. Choose different colors and images that appeal to you. Play around with different style tags too.

One last tip … earlier I mentioned you can make these coaster sets for less than $2 a piece.  There is two ways to accomplish this … 1. Try to get the craft supplies for free from community forums like Craigslist, and 2. Always use coupons offered by your local craft store.

Happy savings … and remember to have fun!

Signature

P.S. I used this DIY project as the party favors for my own wedding. Check out my How to Plan a Wedding post for more details.

How to Plan a Wedding with $10,000 or less

My husband, Travis, and I got married on March 8, 2014. As we were planning our wedding we realized that we didn’t want to start our life together in debt. So, with our DIY attitudes and a love for adventure, we put together a wedding ceremony and reception that was personal, beautiful, and fun, on a $10,000 budget.

Now, you might think $10,000 is a lot to spend on a wedding, or maybe you think it is too little. I know couples who have planned a wedding with a budget as high as $100,000 and as low as $2,500. My advice to you is choose a budget that you and your partner are comfortable with spending.

Quote - Wedding Planning

My tips and tricks in this post will help you begin to plan your wedding and teach you some ways you can save money. To start, check out these three important decisions you need to make:

  1. Choose a theme that reflects the personality of you and your fiance. It’s okay to have more than one theme, but make sure the themes compliment each other. We had a travel, vintage, country theme because traveling is a mutual hobby of ours and we knew we could use a lot of the items we already owned as decorations for the wedding.
  2. Choose three elements that you must have at your wedding. These should be the three most important elements that you want at your wedding. For us that was a DJ, a photographer, and an ice cream bar (because whoever doesn’t love cake most likely loves ice cream – am I right?)
  3. Choose a venue that will help you save on decorations or other wedding elements. When visiting potential venues, make sure to ask for all that is included. Many venues at a resort or hotel include centerpieces, linens, and the cake. Even if you are lucky to find a free venue, make sure to find out what your caterer will offer.

Wedding details

Now that you have made these three important choices and identified the budget boundaries for your wedding, the next step is to reach out to your network of friends who can help with the services.

Do you have an old high school friend who is working on a degree in videography? A friend of a friend who does DJ work on the side and can offer you a huge discount? Or, a previous coworker who owns a photography business? You’ll be surprised of all the connections you can find in your network. We happened to have all three of those connections who offered discounts which meant we saved a bundle!

If you find out that you don’t have the connections you’re looking for … no worries! Check out all the gig opportunities posted on community sites like Craigslist, or the bulletin boards at your local college for students looking to get experience to build their professional portfolios. Maybe you will luck out and get the services for free.

DIY Wedding Decorations (1)

After you have your venue and services secure,  you can begin thinking about decorations. This part is fun! Think about all the decorations you would like to have at your wedding and separate your ideas into three categories:

  1. Decorations you can make yourself
  2. Decorations you will order
  3. Decorations you already have or can borrow

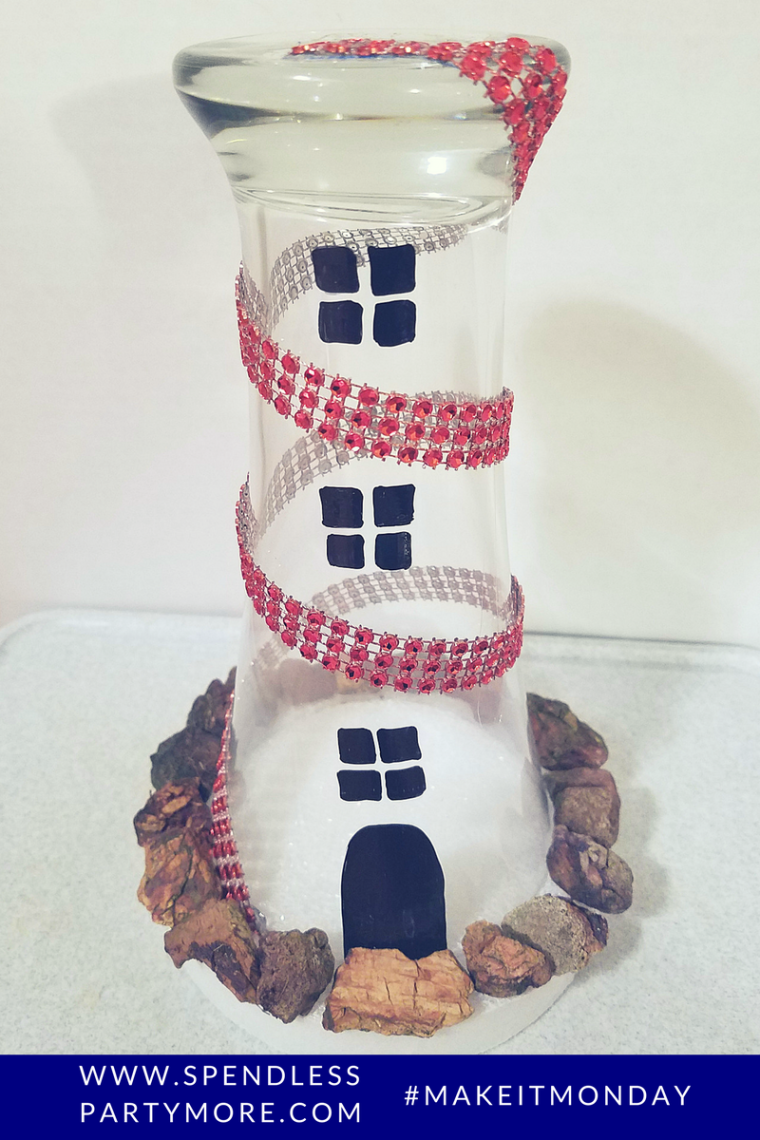
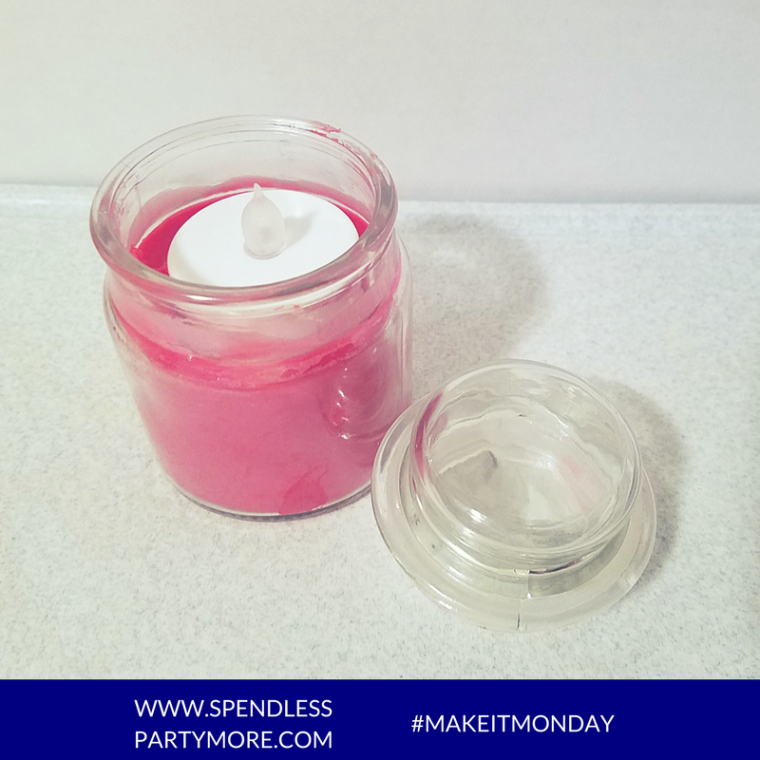
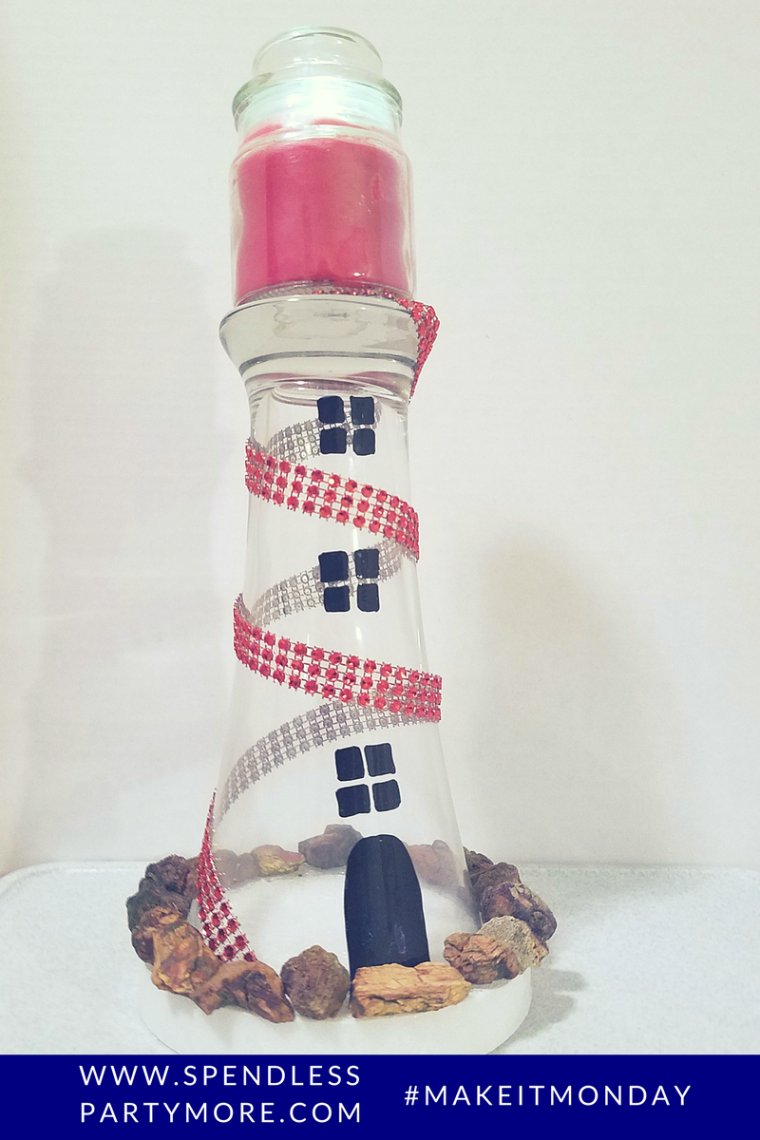
Here on this blog I will post DIY projects, but you can also search the internet for inspiration or how-to videos. You will find that Pinterest and the dollar stores will become your best friend, as they are mine. Not only will DIY decorations save you dollars, but they will give a personal touch to your event which will make your wedding a memorable party for you and your guests.

Finally, the part you have been scrolling for … how did we spend $10,000 on our wedding.

Check out this HIGHLIGHTS VIDEO of our wedding and our budget details below.

Note: The budget I show does not include our wedding rings or honeymoon cost.

Wedding budget details There is a lot involved with planning a wedding, so I am sure you are feeling a bit overwhelmed. I would love to answer your questions or give you more advice, so please feel free to comment below or send me a message.

Happy savings … and remember to have fun!

Signature


(Photos in this post were taken by Blessed Images Photography)