Recipe: Fun with Dips Sweet Maui Onion Burgers

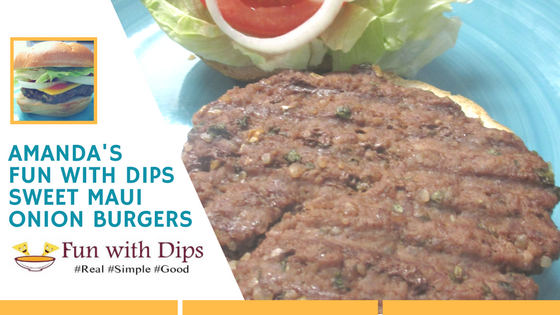
It doesn’t matter the season, my husband and I will grill hamburgers any time! These burgers are simple to prepare and oh so tasty! The seasoning is perfect. That is what I absolutely love about Fun with Dips mixes, they are versatile and all natural. Love it and I hope you love it too!

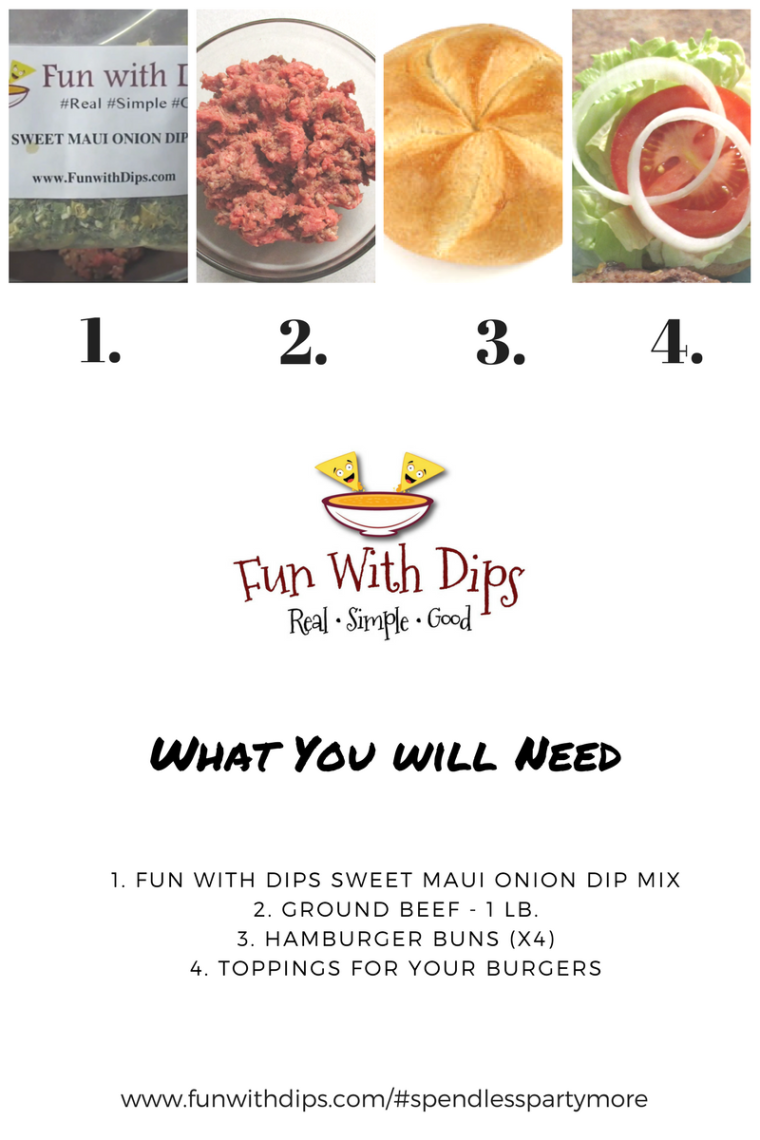
Recipe_ Fun with Dips Sweet Maui Onion Burgers (1)

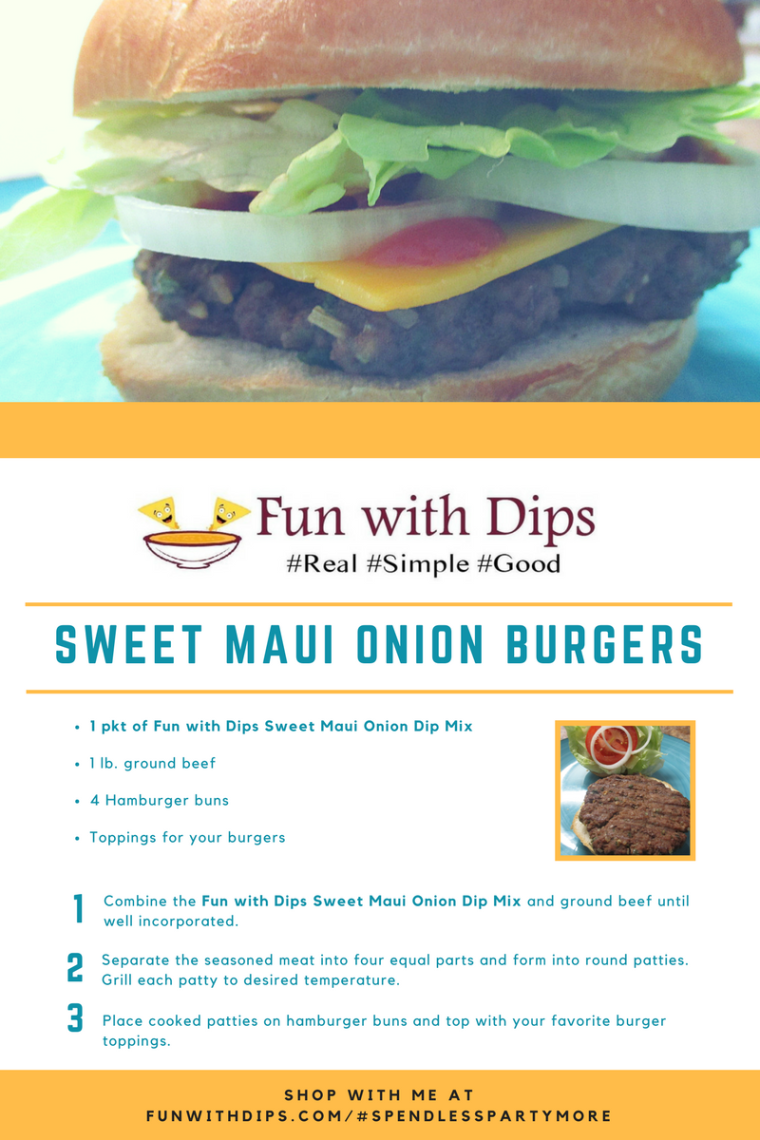
Recipe_ Fun with Dips Sweet Maui Onion Burgers

Happy savings… and remember to have fun!

Signature

Recipe: Fun with Dips Guacamole

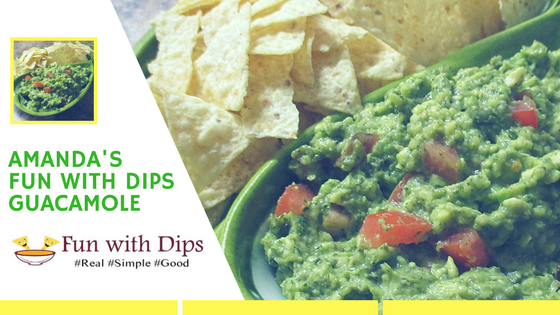
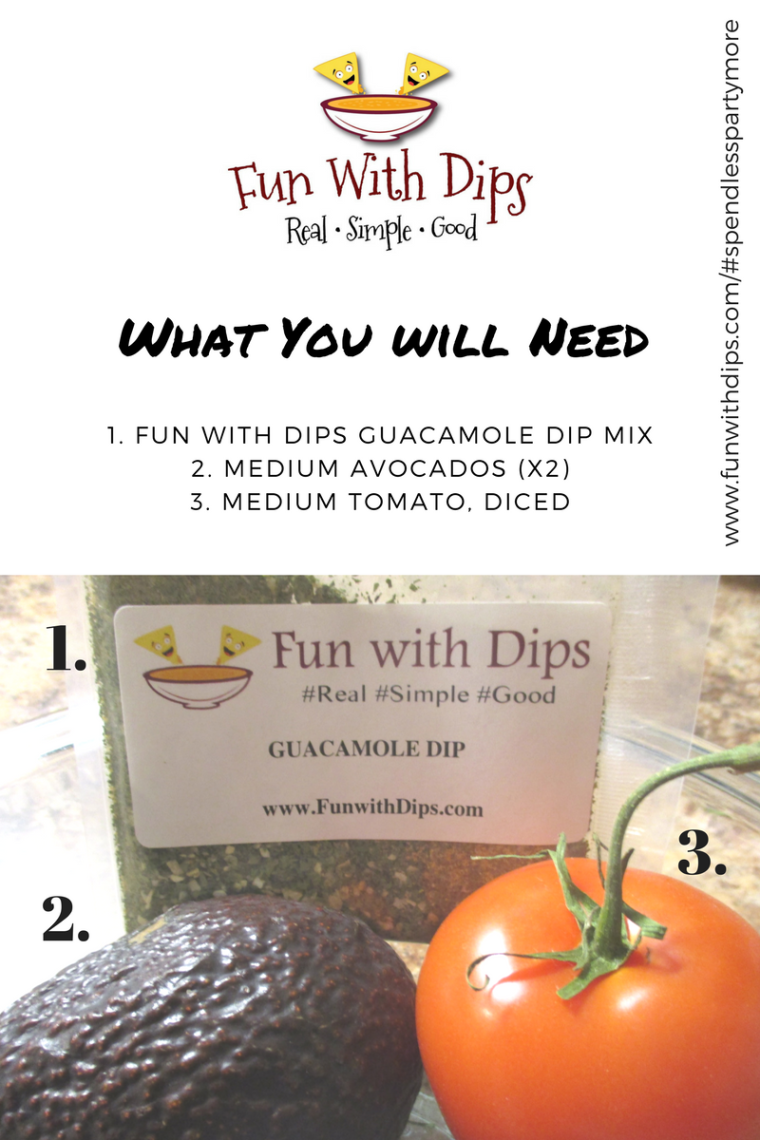
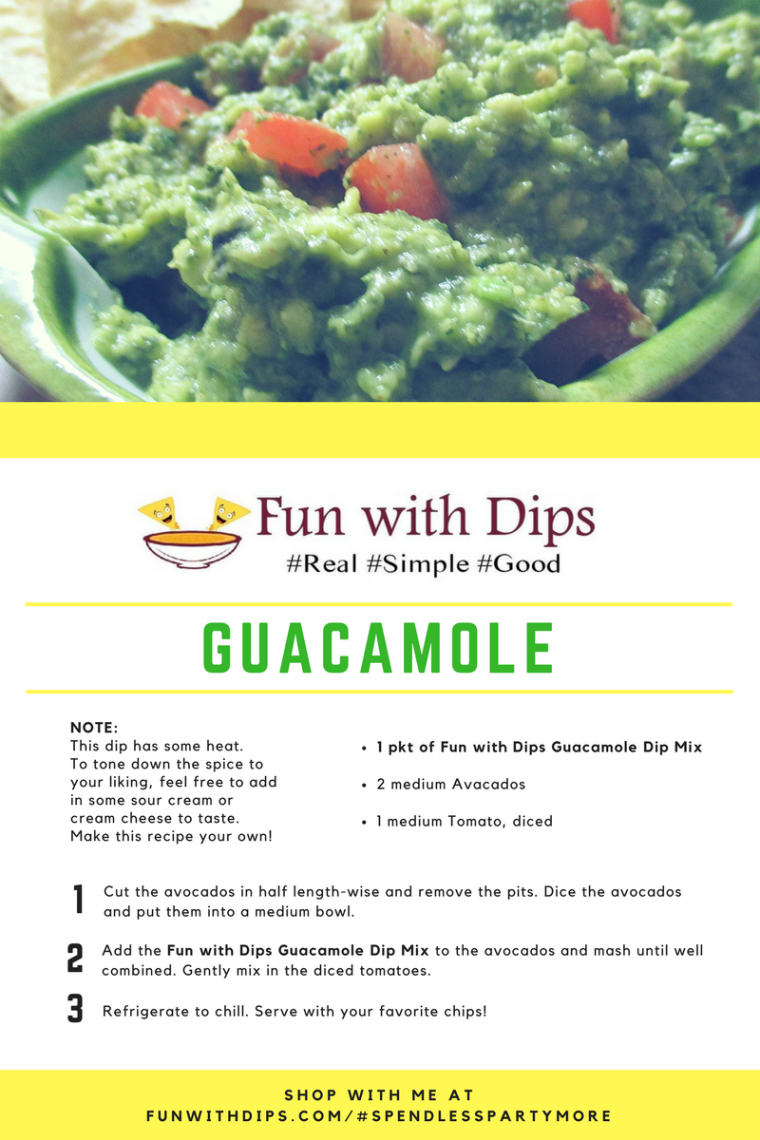
Some people may not like avocado, but almost everyone loves Guacamole! It is because of the coolness of the added tomatoes, the flavor of the seasonings, and the kick of the spiciness.

As you know by now, I am an affiliate of Fun with Dips and I am quickly getting addicted to all the amazing recipes I can make with these mixes. This blend of natural seasonings (garlic, onion, red bell pepper, cilantro, lime juice powder, parsley and spices) really cuts down on the preparation process and gives me piece of mind knowing that I am putting good food into my body.

Recipe_ Fun with Dips Guacamole (1)

Recipe_ Fun with Dips Guacamole

I hope you enjoy these fun party foods as much as I am!  I would like to hear about your own creative recipe and party success. Please share.

Happy savings… and remember to have fun!

Signature

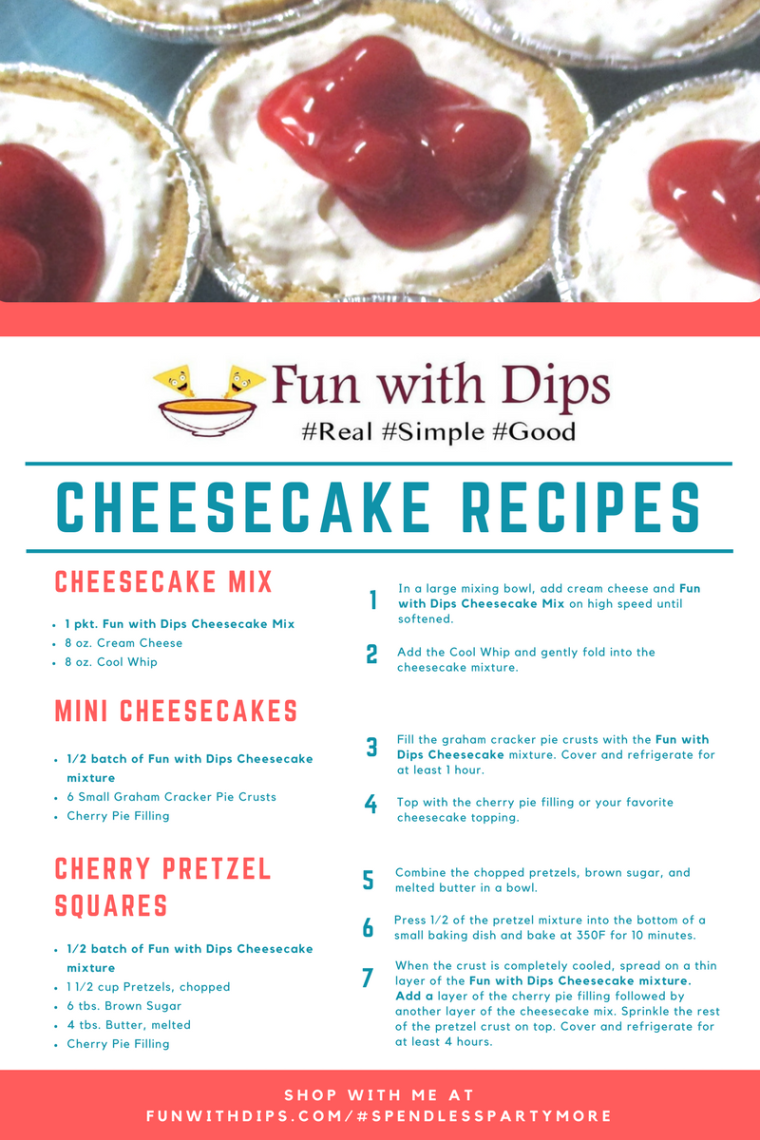
Recipes: Fun with Dips Cheesecake

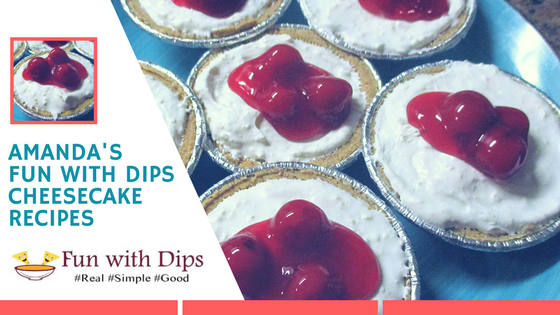
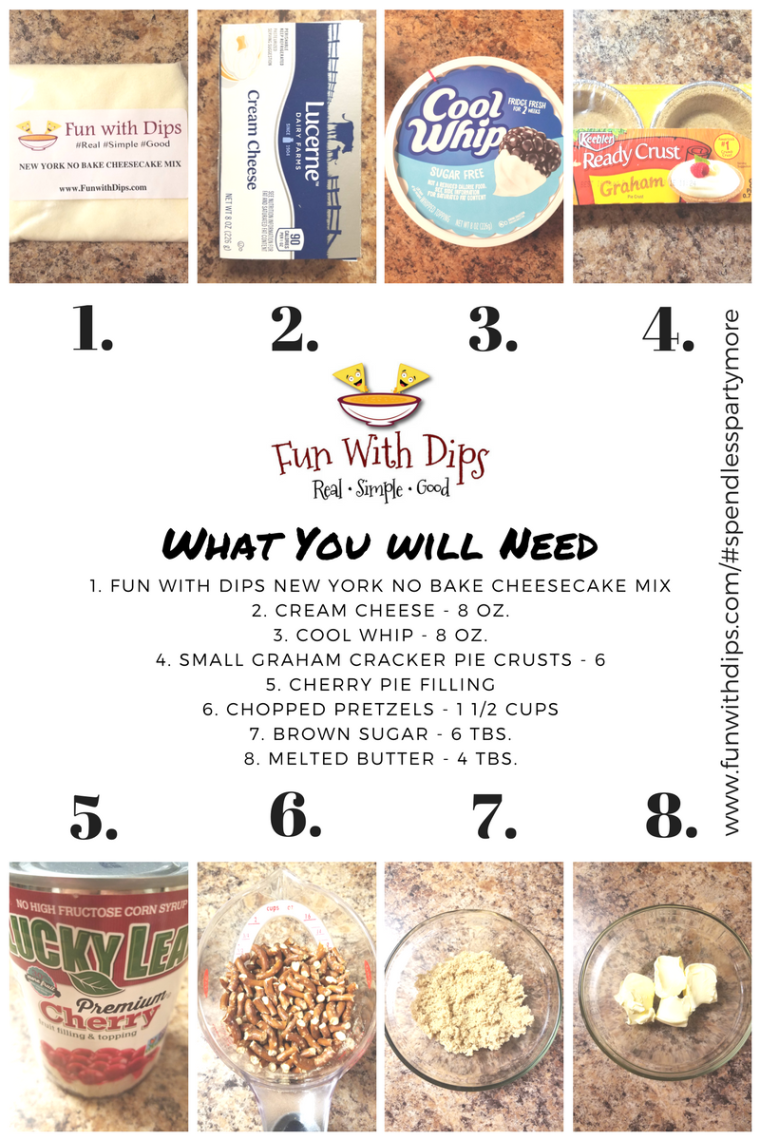
If you like cheesecake as much as I do then you will absolutely love these two recipes! This is the first time I have made a no bake cheesecake and I am delighted to find out how simple and delicious it is to make. I have been missing out for far too long! Come join me in satisfying your cheesecake cravings.

Recipe_ Fun with Dips Cheesecake

Recipe_ Fun with Dips Cheesecake Recipes

I’m loving these no bake dessert recipes.  Please share with me one of your favorite no bake dessert recipes. Maybe something with chocolate? (My weakness!)

Happy savings… and remember to have fun!

Signature

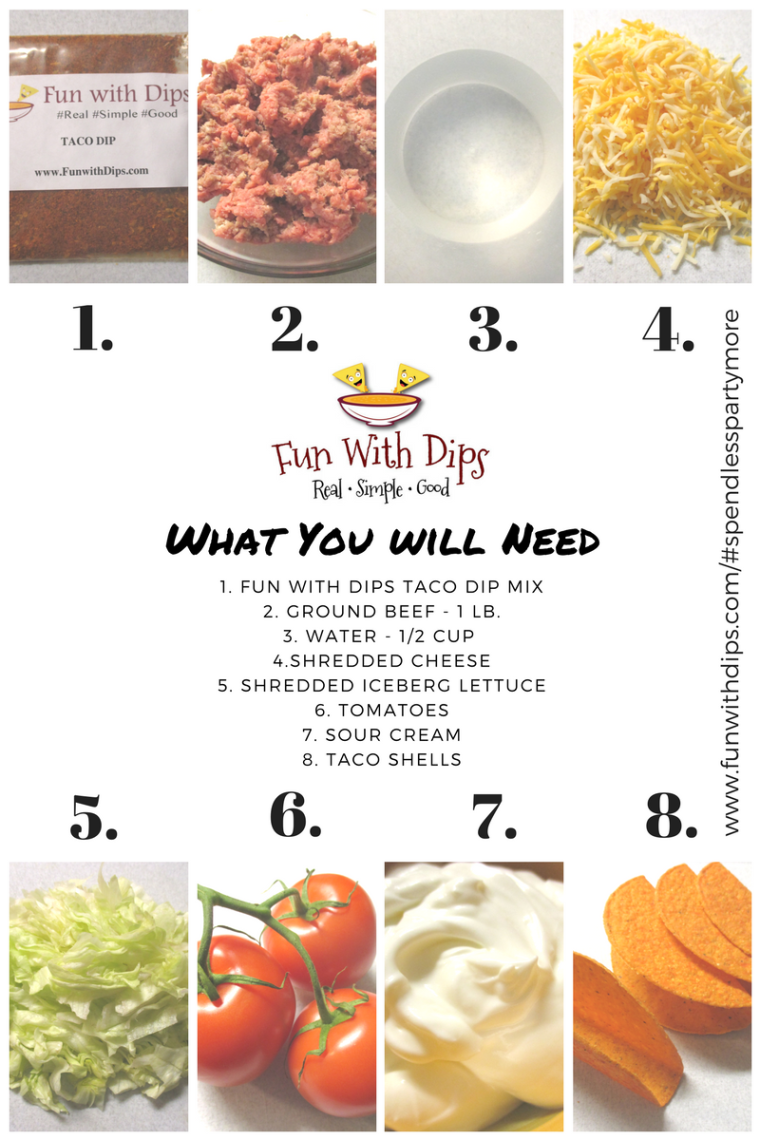
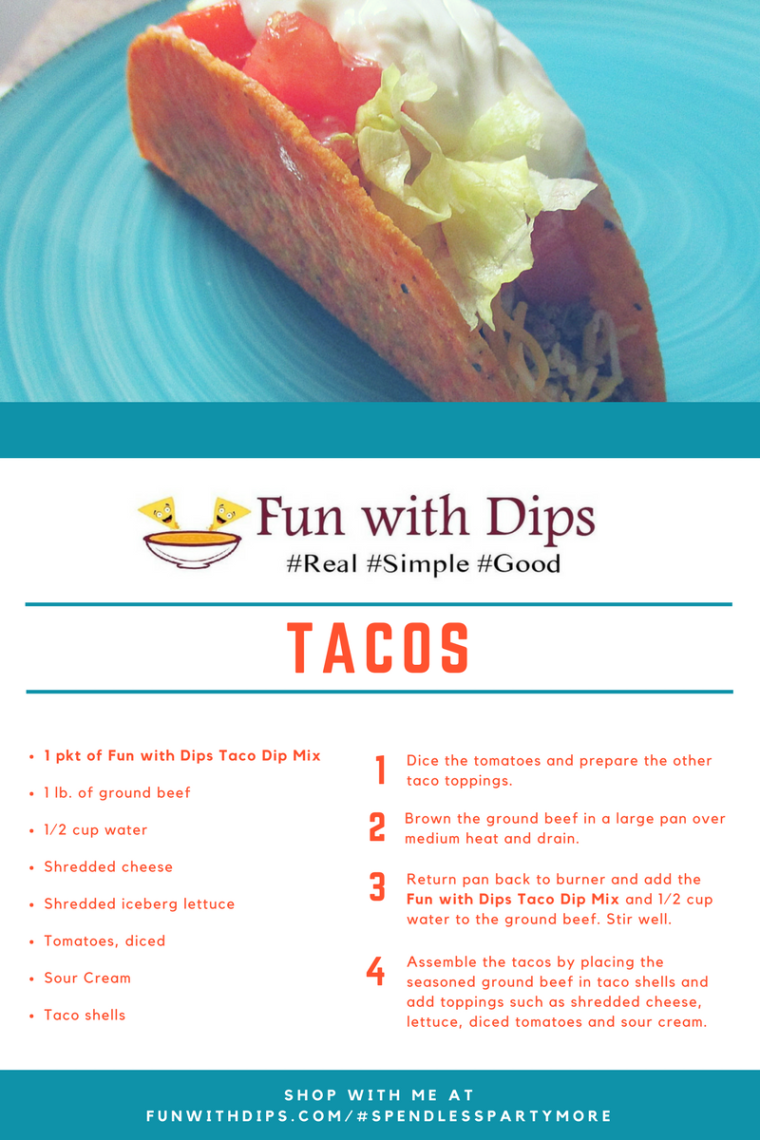
Recipe: Fun with Dips Tacos

Yesterday was Taco Tuesday and guess what I made for dinner?  TACOS!  So that you don’t miss out on the fiesta, I put together a short video to show you how I make my tacos using Fun with Dips.  The mix used in this recipe was the Taco Dip Mix.

Recipe_ Fun with Dips Taco (1)

Recipe_ Fun with Dips Tacos

What do you eat on Tuesdays?

Happy savings… and remember to have fun!

Signature

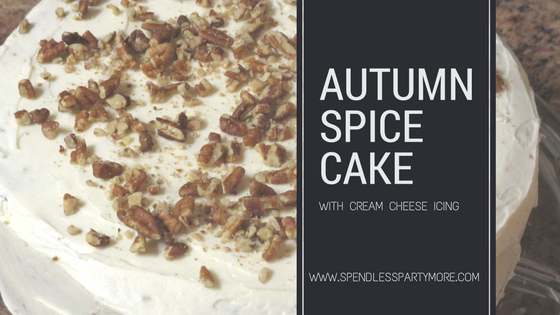
Recipe: Autumn Spice Cake with Cream Cheese Icing

On National Cake Day (November 26), I celebrated by baking my husband his favorite spice cake.  Holidays are coming up and this would be a great dessert to end any holiday feast so I decided to share the recipe with YOU!

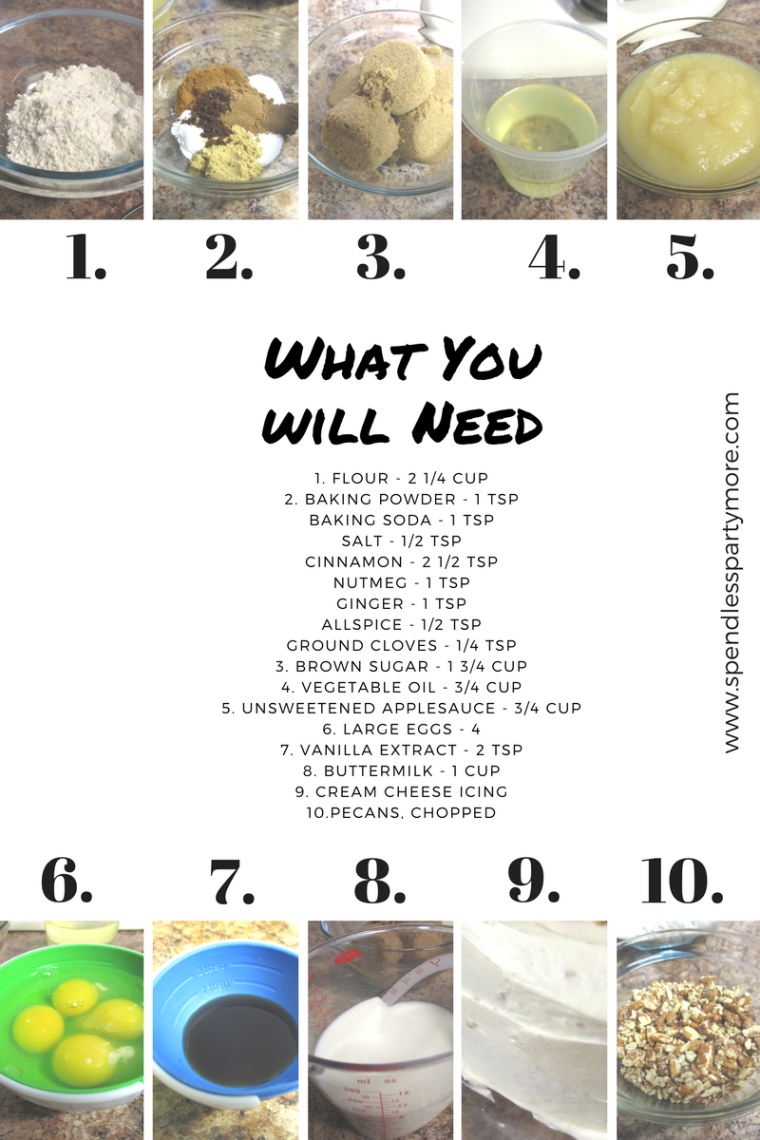
Recipe_ Autumn Spice Cake

Let’s break it down…

Step 1: Whisk together the flour, baking powder, baking soda, salt, cinnamon, nutmeg, ginger, allspice and ground cloves. Set aside.

Step 2: Using a hand mixer or stand mixer, break up the brown sugar until there are no clumps.

Step 3: Add the vegetable oil and the unsweetened applesauce to the brown sugar and blend until smooth.

Step 4: Add the eggs and vanilla extract. Mix until well combined.

Step 5: Slowly add half of the flour mixture until combined and then add half of the buttermilk.

Step 6: Add the remaining flour mixture followed by the rest of the buttermilk. Blend until well combined.

Step 7: Pour the batter into two prepared 9-inch round baking pans. Bake at 350 degrees Fahrenheit for 30 minutes. (Or, until toothpick inserted in center of cake comes out clean.)

Step 8: Let the cakes cool completely before frosting.

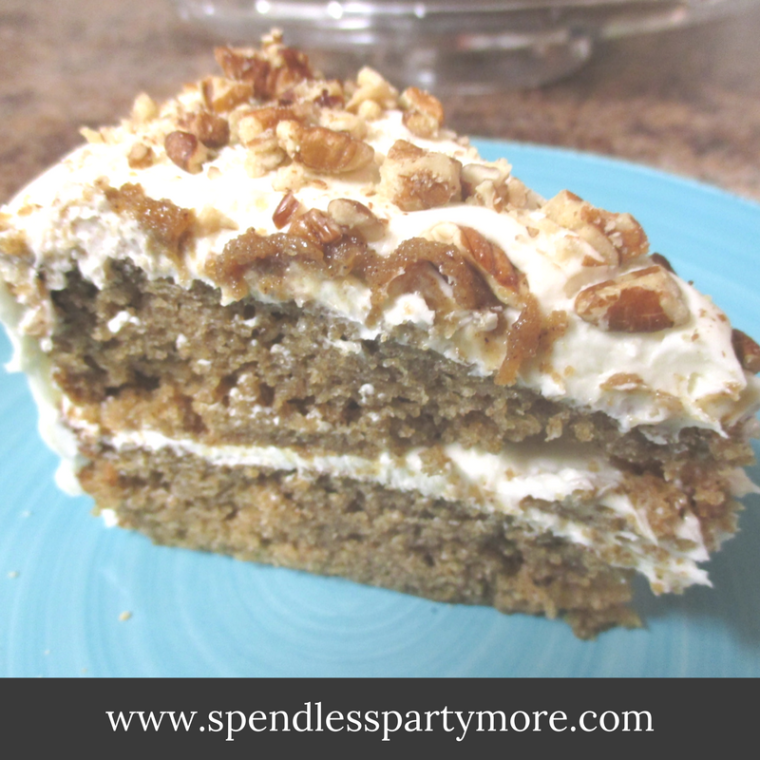
Step 9: Frost the top of one cake and then layer the second cake on top. Finish icing the entire cake.

Step 10: Sprinkle the chopped pecans on top of the cake to finish. Cut, serve, and enjoy!

Spice cake

Please like and share with me a recipe that you will be serving this Holiday Season.

Happy savings…and remember to have fun!

Signature


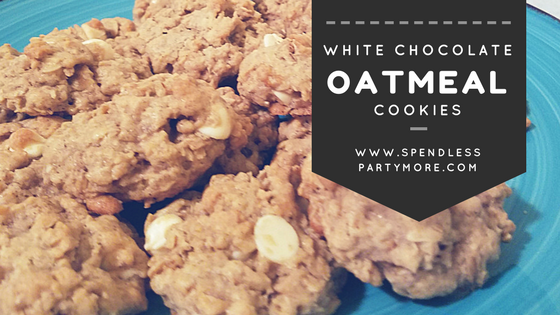
Recipe: White Chocolate Oatmeal Cookies

About once a month my husband’s coworkers request these oatmeal cookies. Sometimes with raisins, but my specialty is with white chocolate. They are a huge hit at my home, work and parties.

The recipe is pretty basic, but I’ll let you in on my secret …

Crisco baking sticks 

Seriously, that is all. Replacing the butter with Crisco baking sticks drastically enhances the flavor and the cookie tastes amazing!

Think I’m over exaggerating? Why don’t you go ahead and give it a try!?

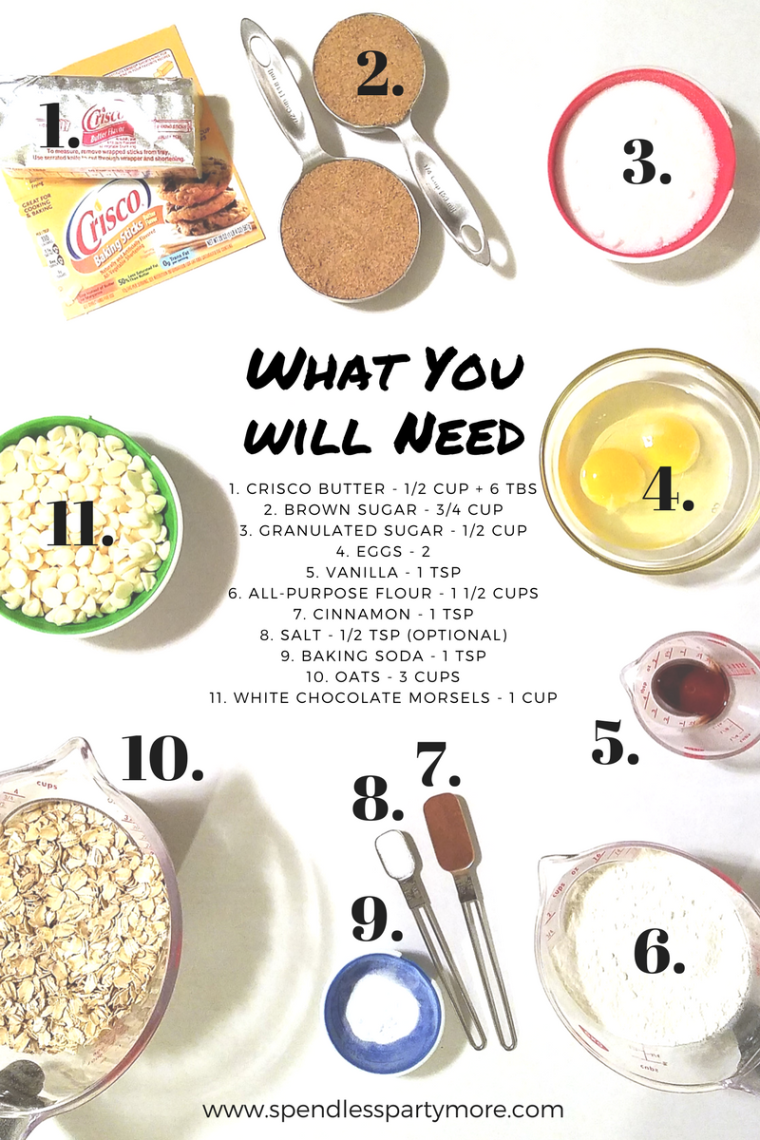
Ingredients for White Chocolate Oatmeal Cookies


Let’s break it down …

Step 1: Preheat the oven to 350 degrees Fahrenheit.

Step 2: In a large mixer bowl, beat the Crisco baking sticks and sugars until blended well.

Step 3: Add the vanilla and eggs. Beat well until the mixture is smooth.

Step 4: In a separate bowl, combine the flour, baking soda, salt (optional), and cinnamon.

Step 5: Add the combined flour mixture little by little into the smooth batter and mix well.

Step 6: Add the oats and white chocolate morsels.Mix well until they are completely incorporated into the mixture.

Step 7: Prepare a cookie sheet with cooking spray. Using a tablespoon as a mold, drop small rounds of the cookie dough on to a greased cookie sheet.

These cookies typically don’t spread while baking. However, just in case your butter is extra soft, I recommend leaving about an inch between each round of dough.

Step 8: Bake the cookies for 8 minutes.

Exactly 8 minutes! No more and no less … trust me on this one.

Step 9: Let the cookies cool for a minute and transfer to a plate.

Depending on how much raw cookie dough you eat … This recipe can make about 4 dozen cookies.

You are now ready to enjoy these cookies, hopefully at your next social gathering.

I would love to hear what you think of this recipe. Please send me a message or leave a comment below.

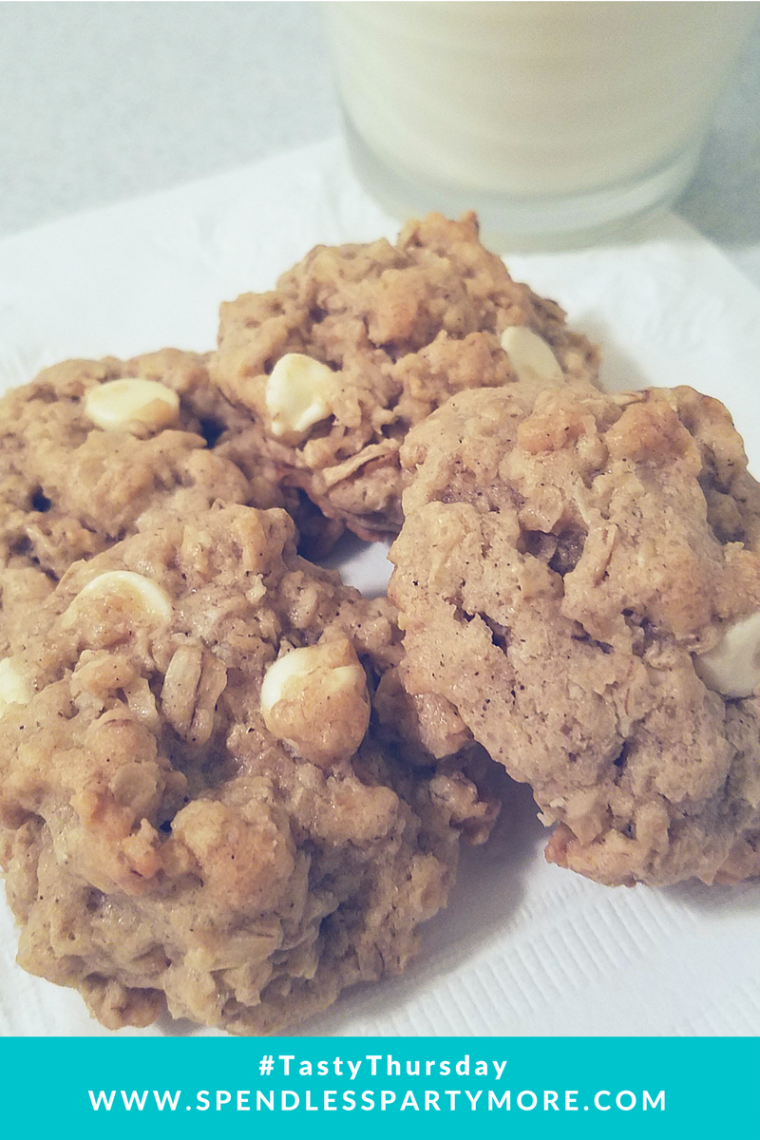
Tasty Thursday White Chocolate Oatmeal Cookies

Happy savings … and remember to have fun!

Signature

DIY: Baby Shower Gift Bouquet

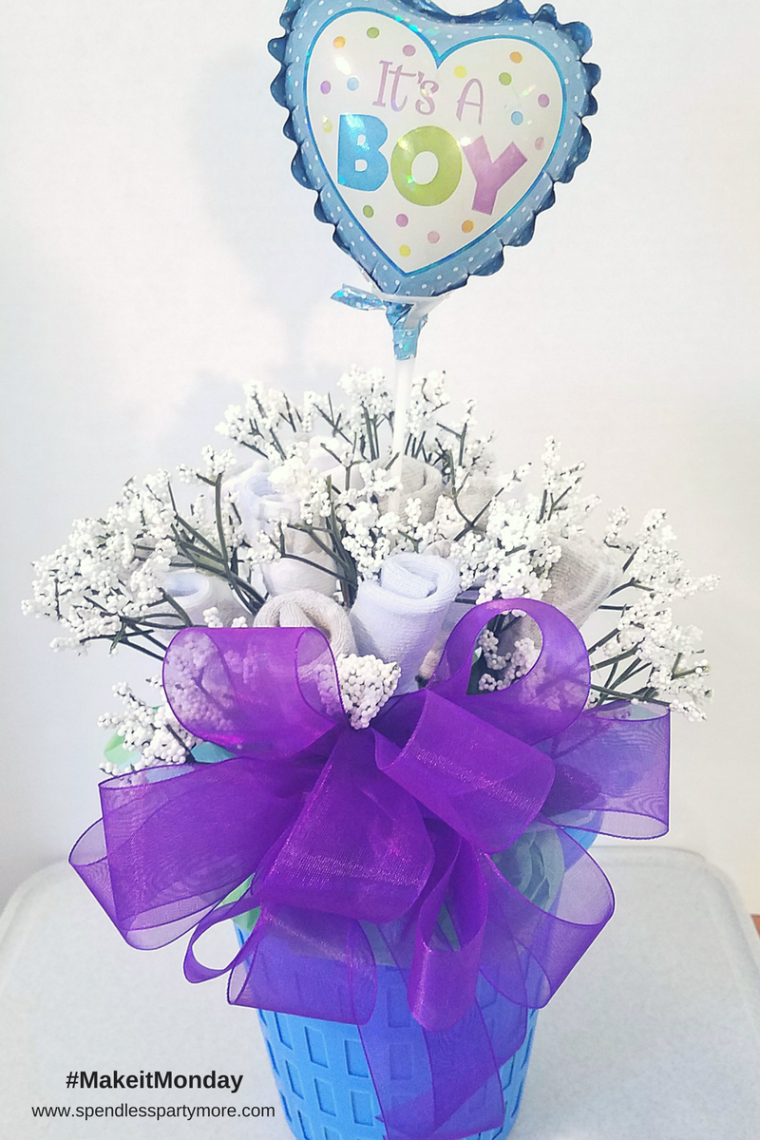
My mama and me are going to a baby shower in a few weeks.  As we were choosing items from the baby registry, we saw a set of adorable baby socks and our creative minds started churning … we decided to make a baby sock bouquet!

This DIY baby sock bouquet is simple to make and it can be used as a gift or as a centerpiece for a baby shower party.

All the supplies used were purchased from our local dollar store, with the exception of the socks, for a total cost of $12.50. (We bought name-brand socks, but you could use baby socks from your local dollar store and make the gift for as little as $4.50)

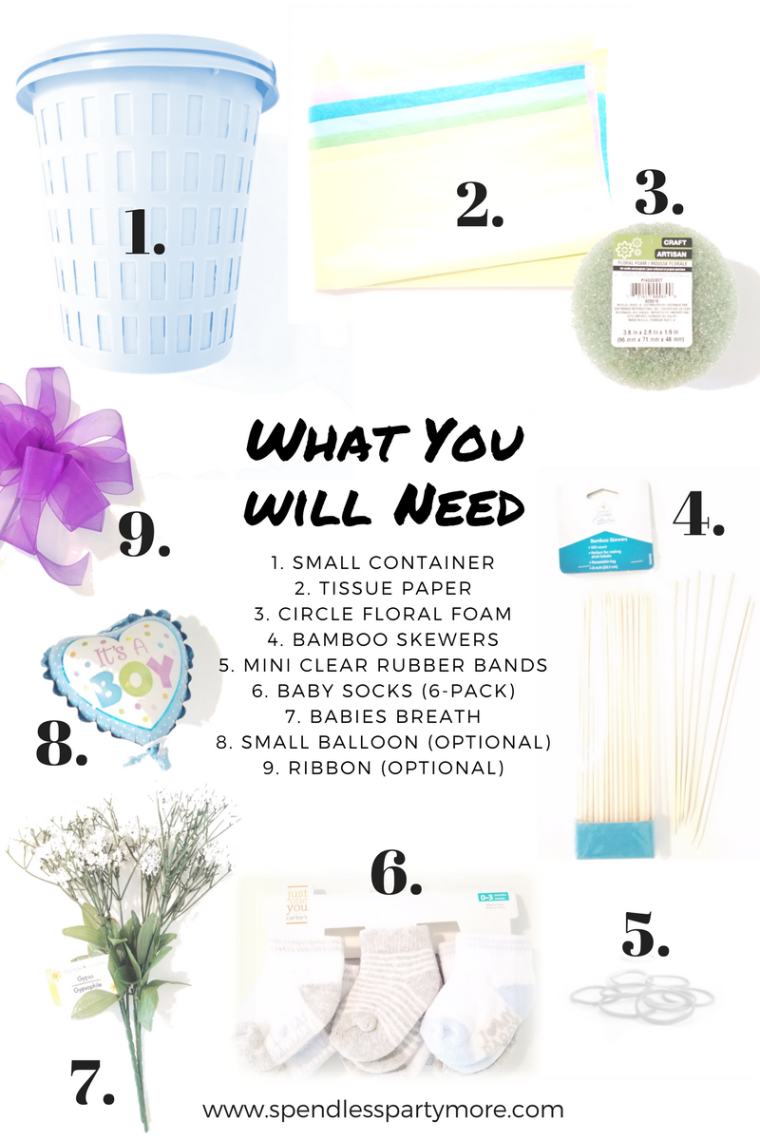
Baby shower gift bouquet materials

Quick tip:

  • As you roll the socks to create the rose, it is best to make sure the heel part of the sock is at the top part of the rose. Doing so will create dimension, mimicking the center of a real rose.

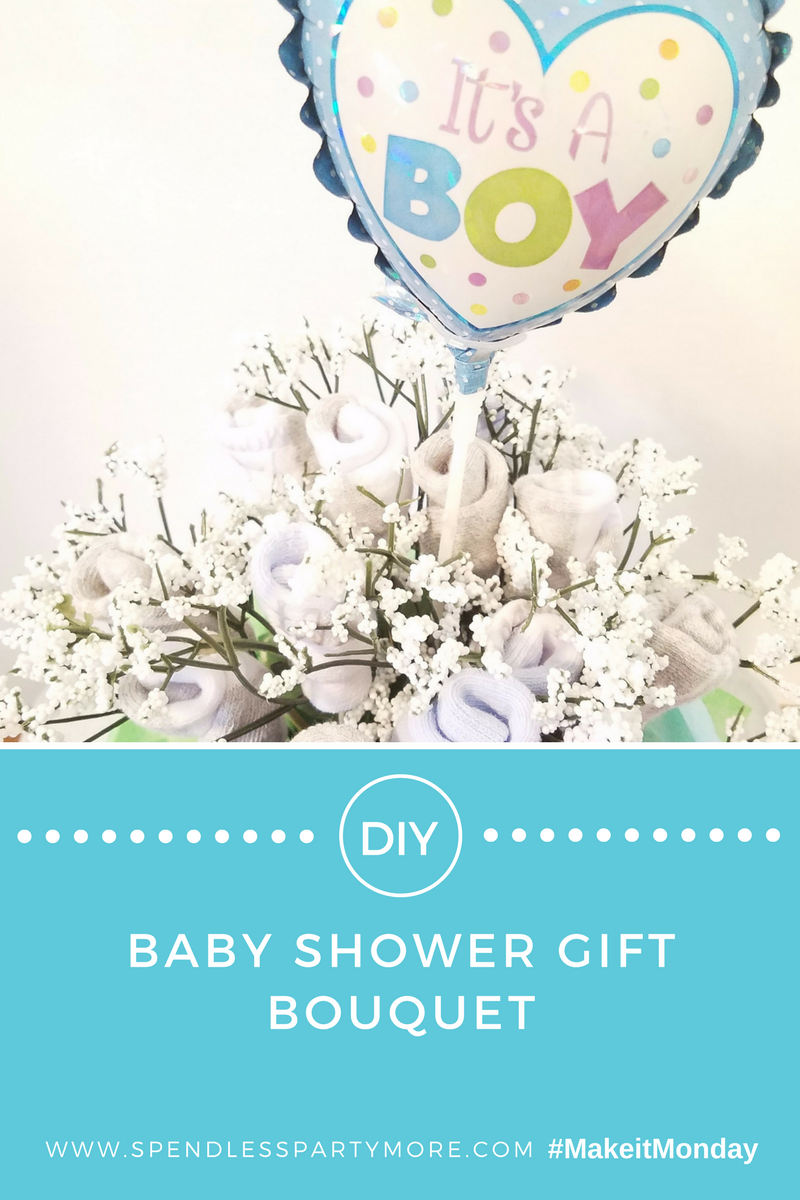
Baby shower gift bouquet final

Happy savings … and remember to have fun!

Signature


6 Supplies You Should Have in Your DIY Party Planning Kit

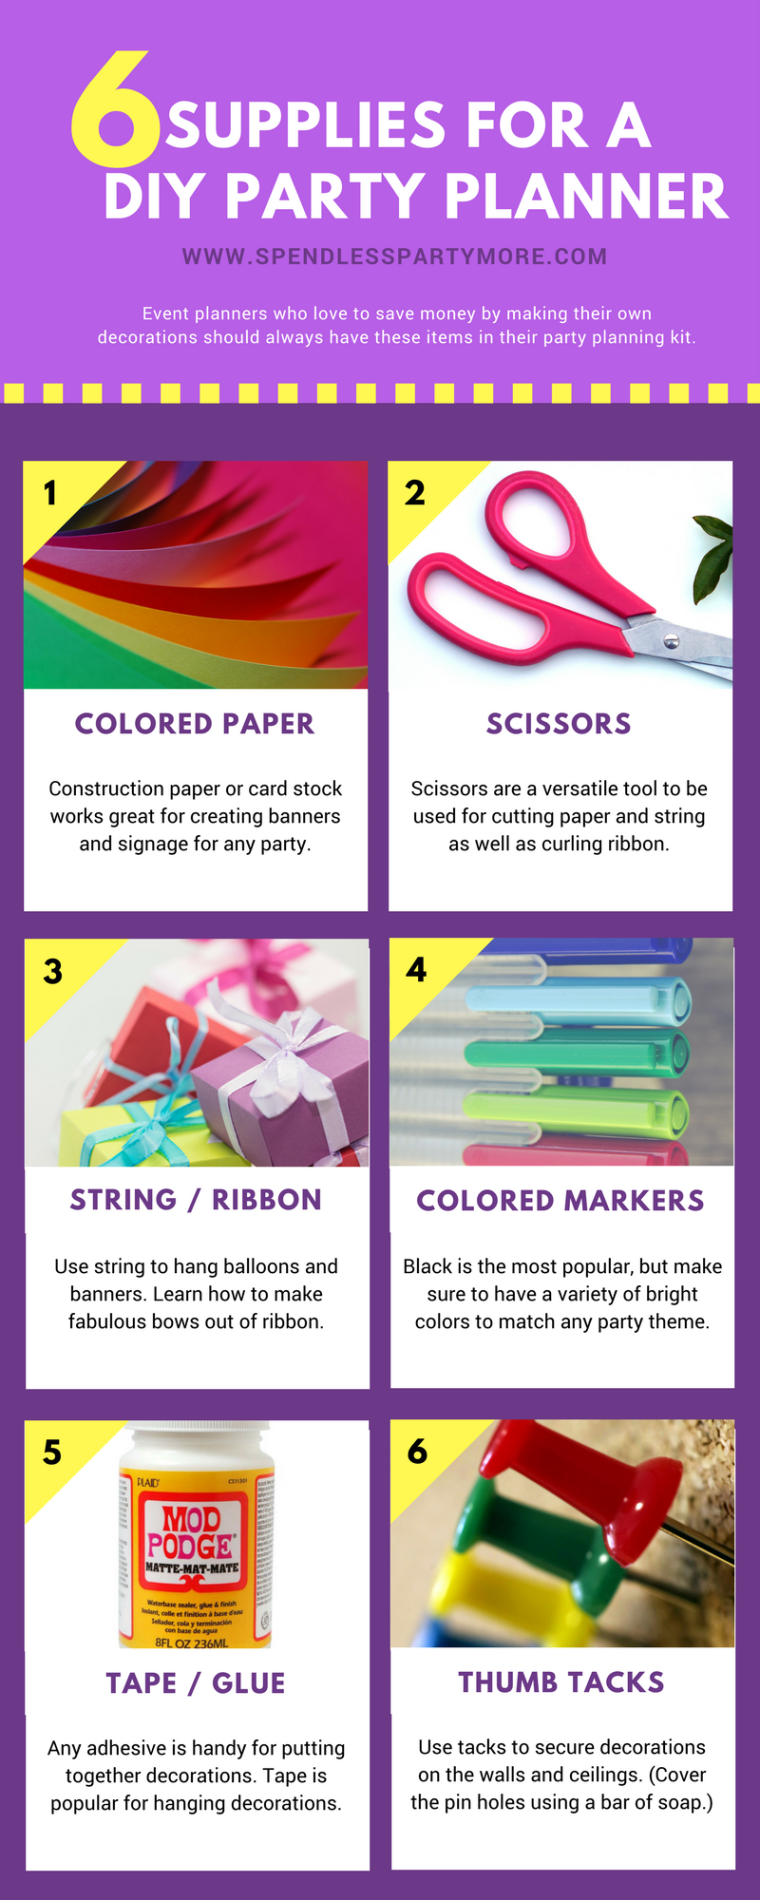
To start, or continue, your journey in becoming a DIY party planner, I encourage you to put together your own go-to party planning kit.

Planning an event will be stress-free if you plan appropriately and save time by having the right supplies handy when you need them.

I have found these six supplies useful in every party planning situation – especially for last minute projects.

Party Planning Supplies Infograhic (2)

Here are some ways I personally use these must have party planning supplies:

  1. Colored Paper: I design and print my own tent cards for guest seating or to label buffet-style food.
  2.  Scissors: My favorite brand of scissors to use are CUTCO. I use them for everything, even to prep food.
  3. String / Ribbon: I have ribbon in various colors and sizes. On holidays I will make large fabric bows and tie them on my kitchen cabinet doors.
  4. Colored Markers: When I am short on time or run out of printer ink to make my banners or tent cards, I always have my supply of markers as back up.
  5. Tape / Glue: The three main adhesive products I use regularly are clear tape, E6000 glue, and a hot glue gun.
  6. Thumb Tacks: I use tacks to hang my banners by tying the string end of each banner to each tack and pushing the tacks into the wall at the distance needed – easy peasy!

What other supplies do you have in your party planning kit?


Happy savings … and remember to have fun!

Signature

Recipe: Frozen Strawberry Banana Margarita Mock-tail

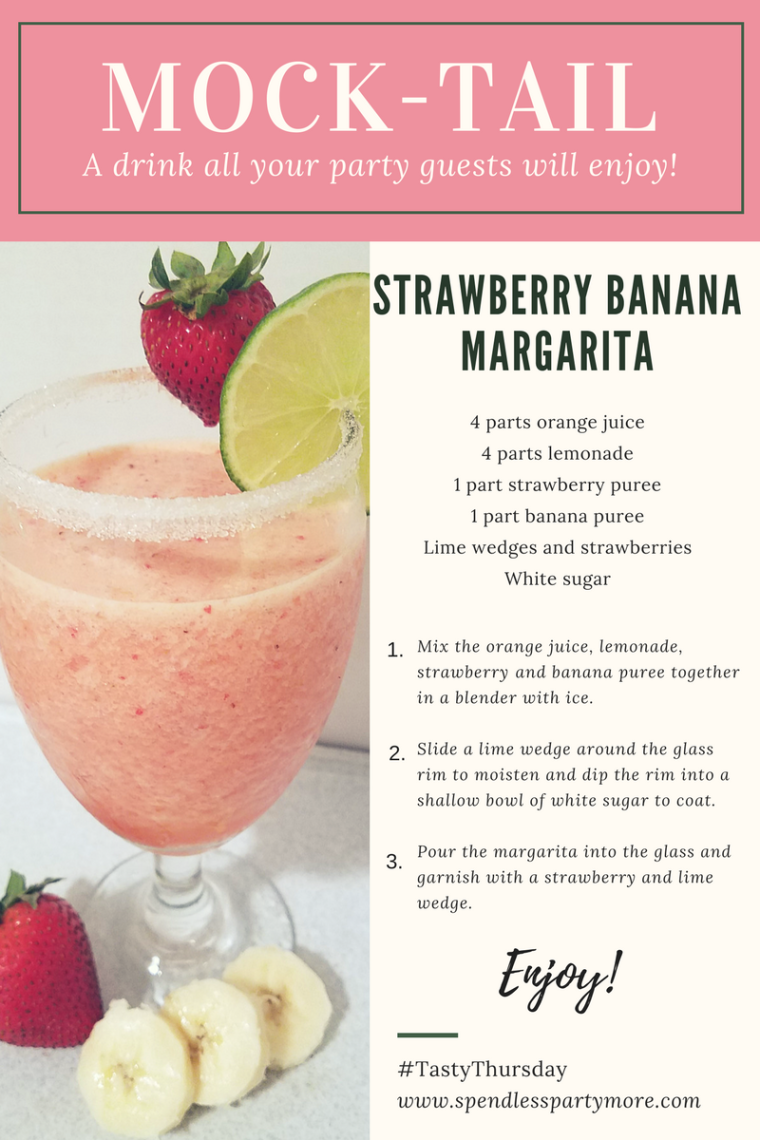
As a person who appreciates cold weather, of course I had to share with you my frozen margarita recipe.

Escape the summer heat and meet me in Margaritaville!

Mock-tail- Strawberry Banana Margarita

If you are looking to turn this mock-tail into a cocktail, I recommend replacing 3 parts orange juice with your favorite brand of Tequila and add a splash of Triple Sec.

What ingredients do you add to your margarita?

Happy savings … and remember to have fun!

Signature

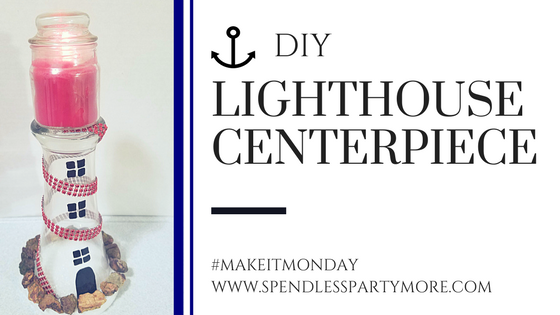
DIY: Lighthouse Centerpiece

A few years back I was in charge of decorations for my mother-in-law’s 60th Birthday party. This was the first time I was planning a nautical themed party and I was beyond thrilled just thinking of all the possibilities. Because she loved lighthouses, I knew I wanted to have a lighthouse in the center of each table.

My searches at the party stores and the internet were exhaustive. All the lighthouse centerpieces I found were either extremely expensive or extremely cheap. My budget was set at $4 per centerpiece and they had to be good quality. That’s when I realized I would have to make the centerpieces myself.

I began to think of the basic shapes of a lighthouse and the different type of objects I could use to mimic those shapes.  That’s when it hit me to use a Pilsner glass … it is the perfect shape! Plus, it could be taken a part after the party to be reused.

This is an original design that I would like to share with you. I was able to find all the items at my local Dollar Tree, costing exactly $3.25 for each centerpiece.
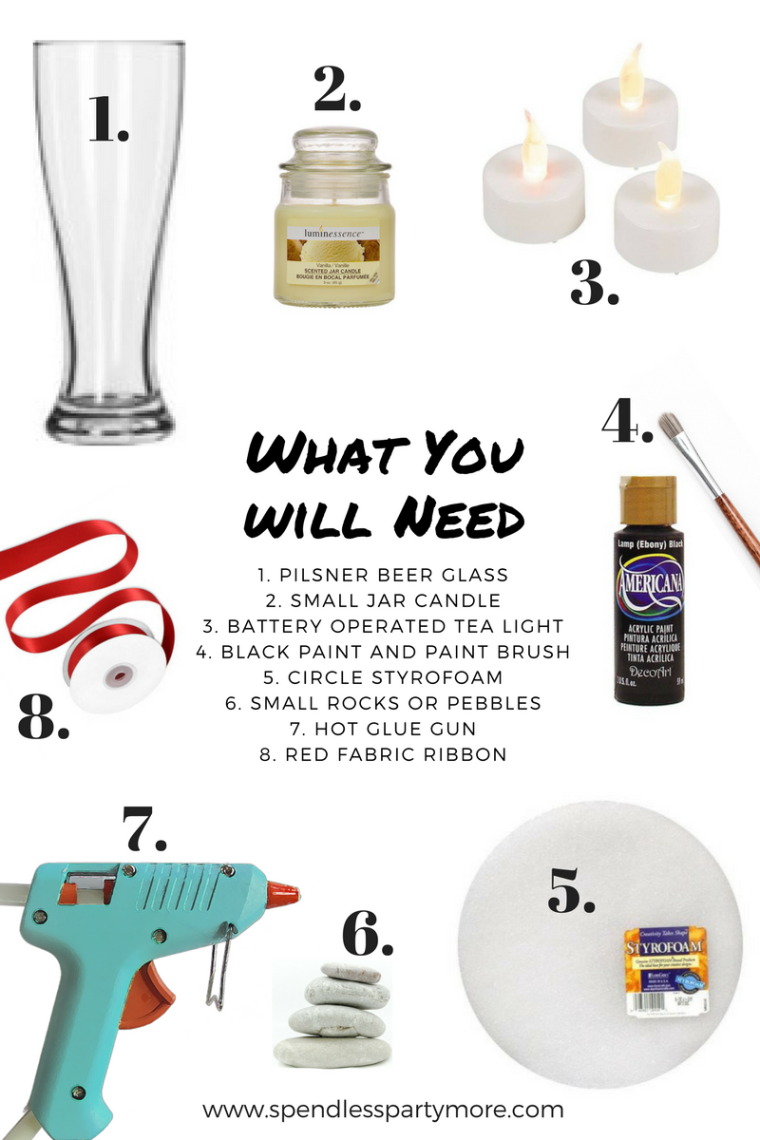
Lighthouse Centerpiece materials

Step 1:  Clean and dry the Pilsner glass to remove any oils.

Step 2:  Turn the Pilsner glass upside down on your work surface so that the base of the glass is pointed towards the ceiling. Using the black paint and small paint brush, paint three square windows and a door on one side of the Pilsner glass. Let the paint dry.
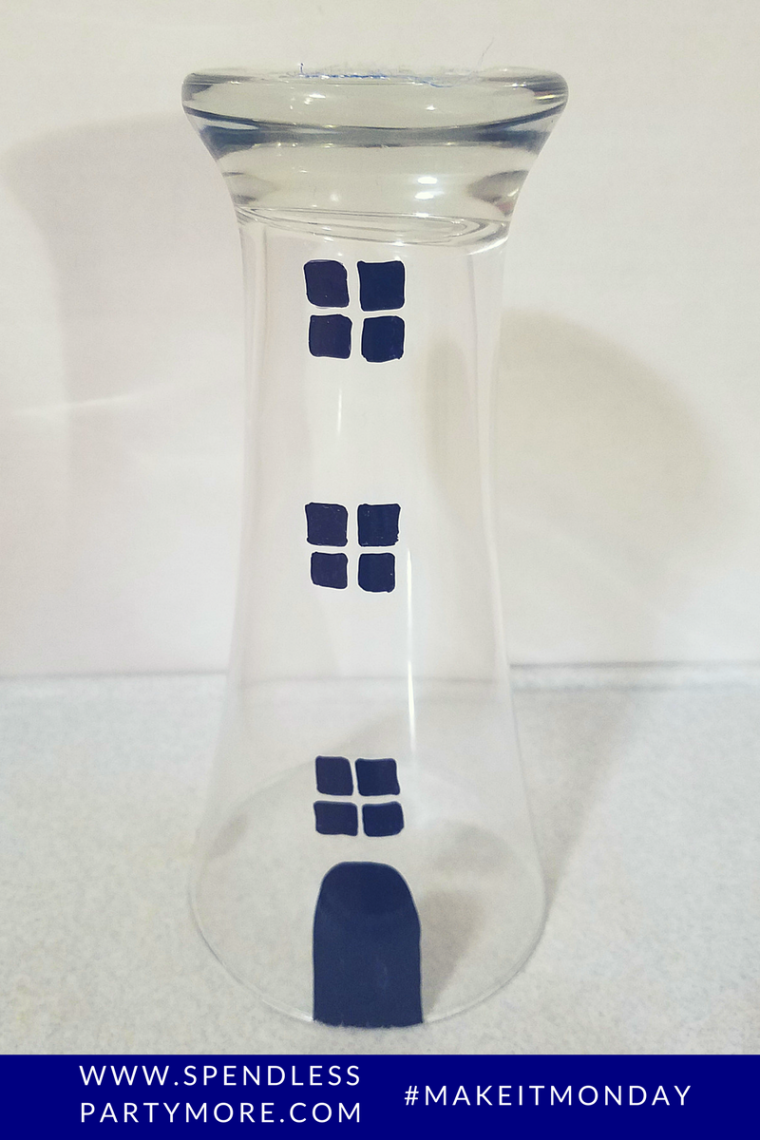
Pilsner glass - lighthouse centerpiece

Step 3:  Add a dot of hot glue on one end of the ribbon and secure it to the top of the Pilsner glass. Twist the ribbon around the glass until you get to the base, making sure not to cross over the windows and doors. Secure the end of the ribbon to the bottom of the glass with another dot of hot glue and trim the end.
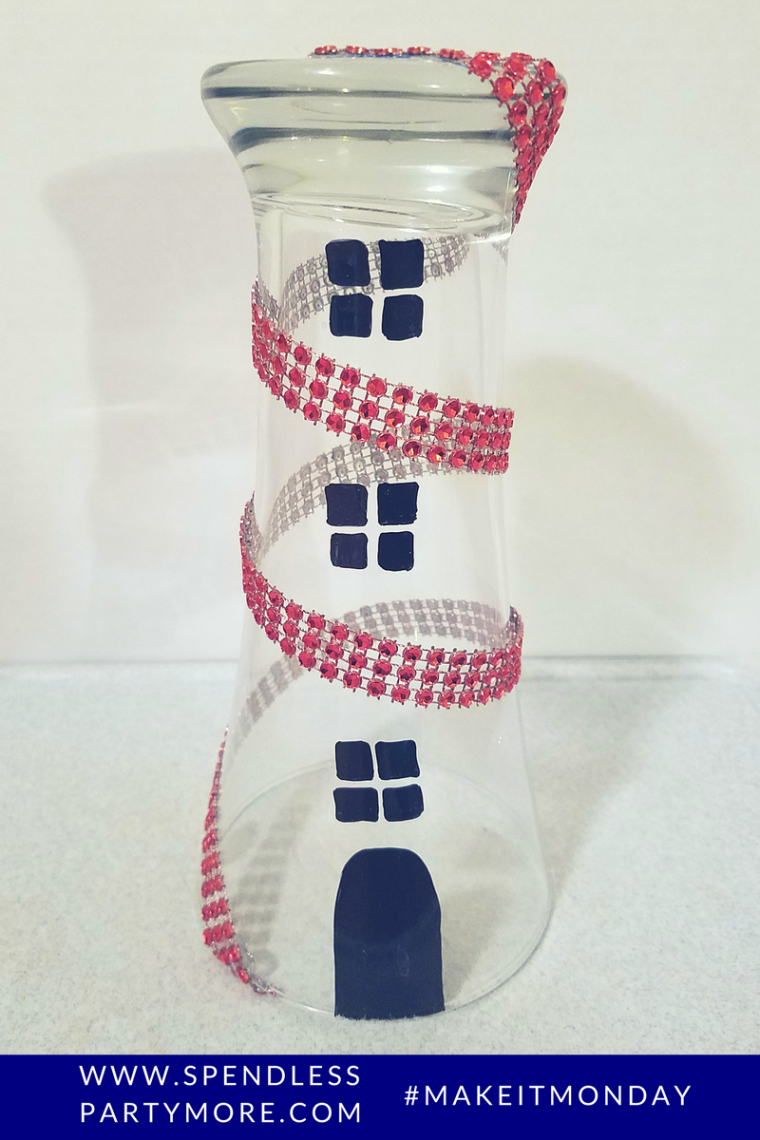
Ribbon - Lighthouse centerpiece

Step 4:  Center the Pilsner glass, rim side down, onto the top of the circle Styrofoam disc and gently press the glass into the Styrofoam. Don’t press too hard, just enough for the glass to be stuck to the Styrofoam without going all the way through.

Step 5:  Use the hot glue gun to secure small rocks to the Styrofoam ledge, creating the base.
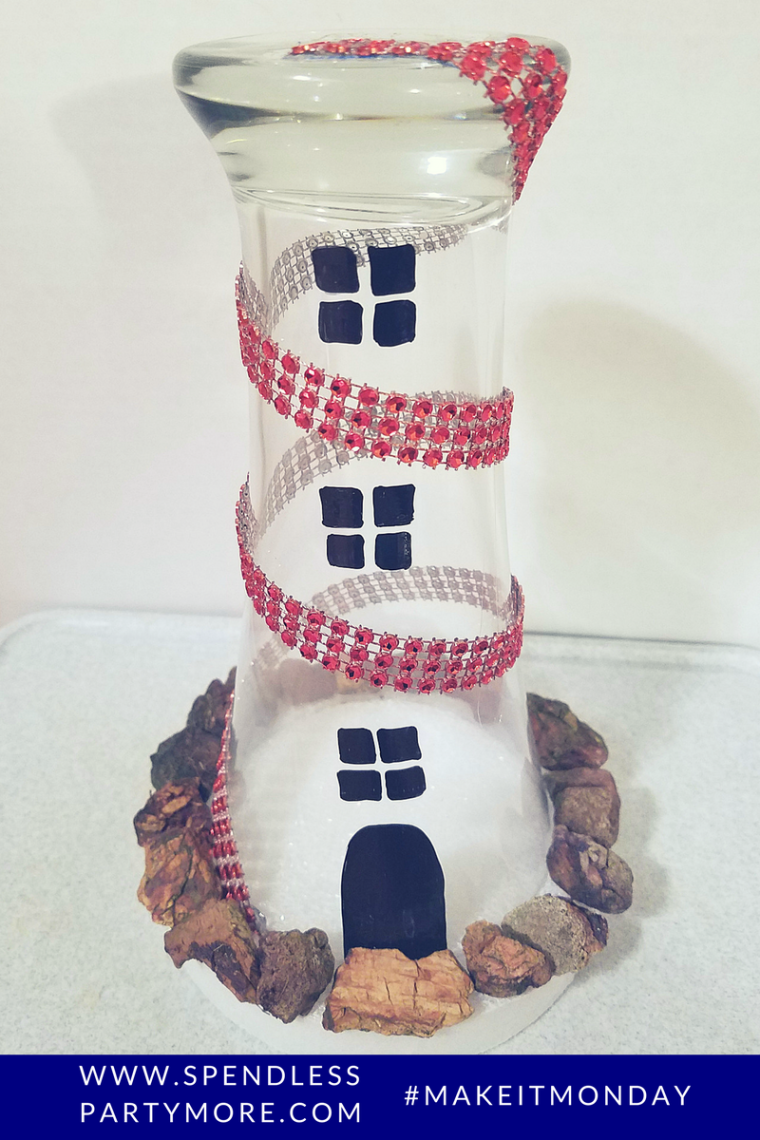
base - lighthouse centerpiece

Step 6:  Use warm soapy water to remove the label on the small candle jar and dry.

Step 7:  Take the lid off of the small jar candle. Use a spoon to carve out a circular hole in the wax.  The hole should have a diameter and depth that can fit a battery operated tea light.

Step 8:  Place the tealight into the hole that you just carved out of the candle. Adjust the dept as needed to make sure the lid to the jar can be closed.
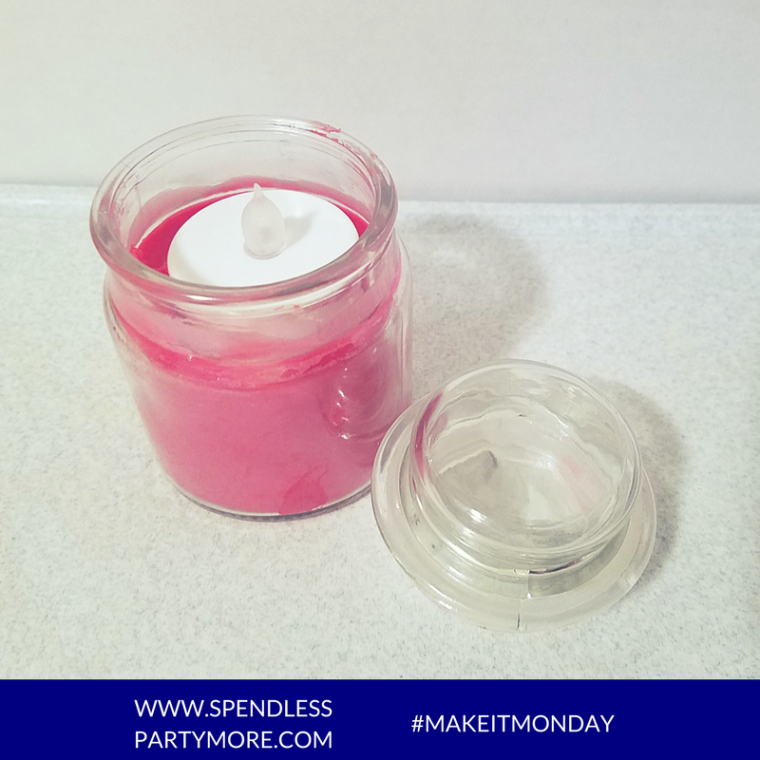
jar candle - lighthouse centerpiece


Step 9:  Add hot glue to the top of the Pilsner glass and place the base of the small candle jar on top of the hot glue to secure.

Congratulations … you are finished! Repeat these steps according to how many tables you will have at your event.
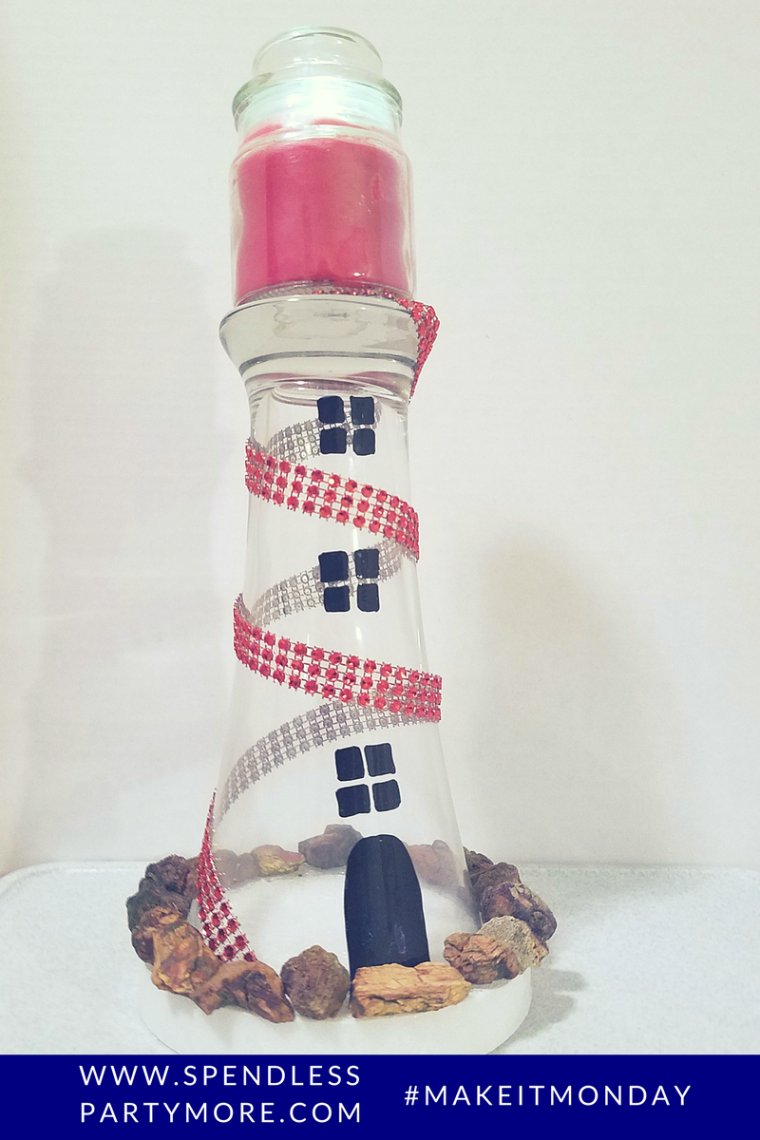
final - Lighthouse centerpiece

Choose different colored ribbons or candles to personalize your centerpiece. You could even paint the Styrofoam.  Get creative!

Make sure to turn the tealights on when you start the party so that they will glow all night long!

Happy savings … and remember to have fun!

Signature